A few weeks ago I agreed to do a pay-it-forward gift exchange. A friend had posted a note on their facebook profile that the first five people to leave a comment would receive something handmade by her. The deal was there was no set deadline, but it would be within the year, no set value and no notification of when or what was being sent. It could be something crafted, it could be a box of cookies or a full on meal. The only stipulation was if you left a comment that you had to re-post the note on your profile and agree to do the same for the first 5 people who commented and so on.
I really didn’t know what to make and then I came across a tutorial on This Old Dress. I didn’t want to buy anything new to make my PIF’s so I dug in my sewing closet (yes I actually have to dig in there) and pulled out two t-shirts to use. The original tute shows how to decorate the fabric with fabric paints to create more interest but I didn’t have the time or motivation (or paint for that matter) to do that so I chose a navy blue and light blue tshirt and figured the two together would make it interesting enough.
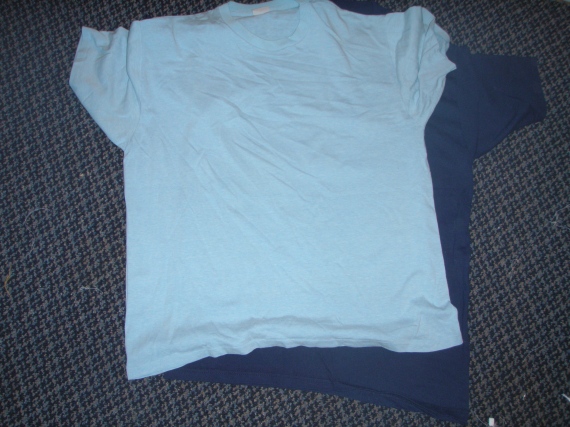
For this project you need one or two tshirts, the bigger the better, depending on how full you want your neck lush to be. You can use tshirt fabric for this too, just sew up two rectangles with a zigzag stitch to create a tube.
Lay out your tshirts flat. cut off the hem and cut off the body portion just at the underarm point.
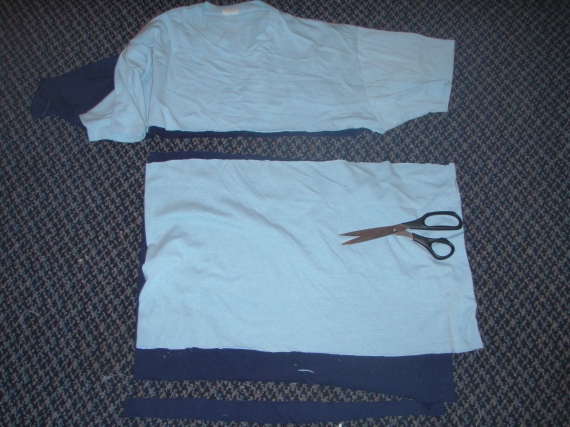
Set aside the top portions of the shirts for the next tutorial and hang on to the bottom hem pieces. Cut the two body portions of your t-shirt into horizontal strips so that you have loops. I cut mine about 1″ (2.5cm) wide. Next come the easy part, take each loop and give it a good stretch. The fabric should curl up and almost double in length. Once you have stretched all your loops you will want to tie them together. Hold all the loops in one hand and wrap one of your hem pieces around the bunch and tie a knot. And that’s it! fun, super soft, versatile scarf.
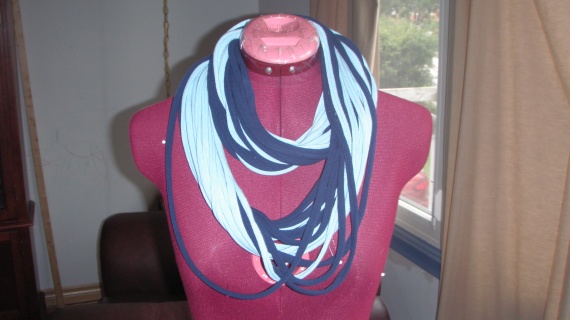
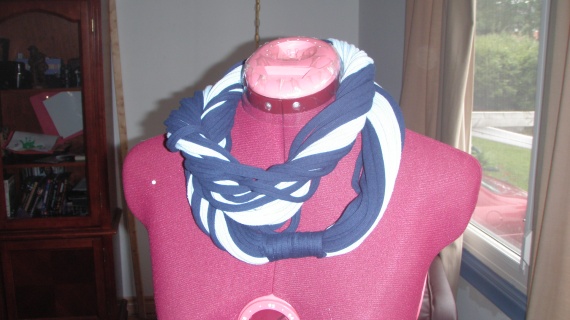
Some thoughts on this project:
The bigger your t-shirt, the longer your loops will be, the more you can do with your scarf.
This will work best with cotton t-shirts (or cotton knit fabric from the fabric store) as it will stretch out and stay stretched out. Any amount of spandex/lycra in the fabric will simply cause it to shrink back up to its original size.
Experiment with painting and dying your t-shirts to create a little interest in the finished product but do this before cutting your t-shirt in to strips.
If you sewed a piece of fabric into a loop for this project, be sure to wrap your hem piece (or extra strip of fabric) around the seamed area to cover it as it doesn’t look the nicest.
Now that you have finished your fun scarf and are looking pretty trendy right now, what do you do with the leftovers?
You can cut the sleeves and upper body portion of your shirt into strips and make some bracelets or whatever but if you have a toddler hanging around your house (or maybe one or two hanging out at your friends or family’s houses) make a pair of one of a kind shorts!
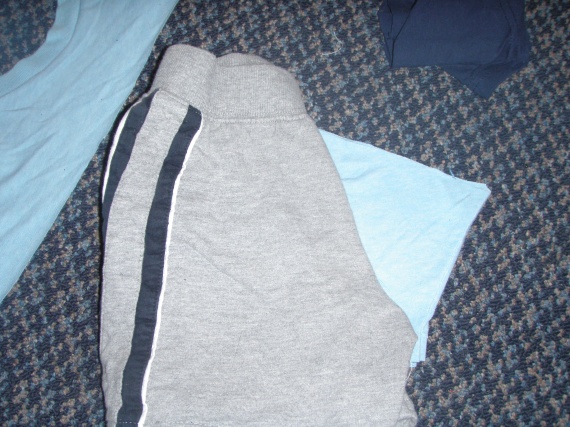
For this project I used the sleeves from the two t-shirts I make my tshirt scarf out of. I also used a pair of my son’s shorts as a guide.
I used two sets of sleeves for this as I felt that one set would be a bit too short. it really depends on the length of the sleeves of your tshirt so use your own judgement.
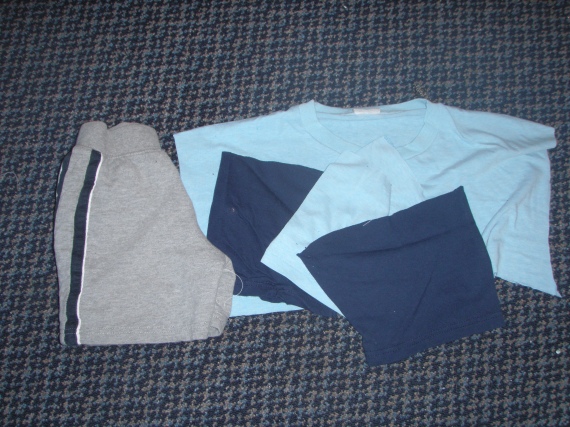
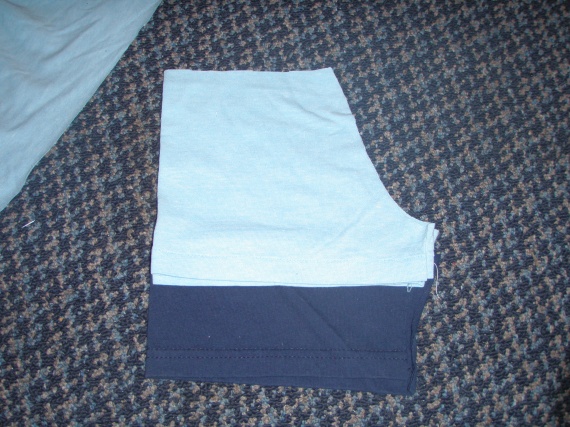
I laid a light blue sleeve on top of the dark blue sleeve and used the ready-made shorts as a guide for length. I then trimmed off the excess fabric from the dark blue sleeve making sure to leave it long enough to attach to the hem of the light blue sleeve.
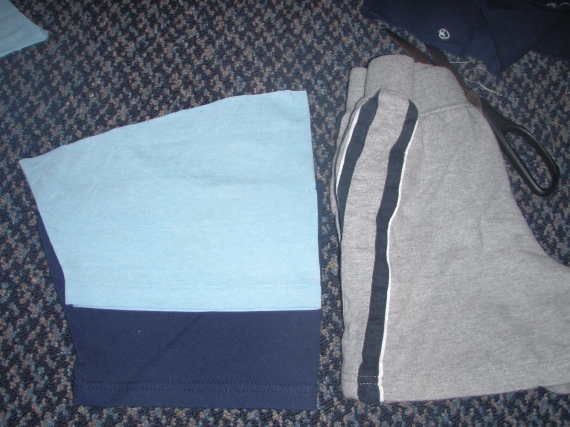
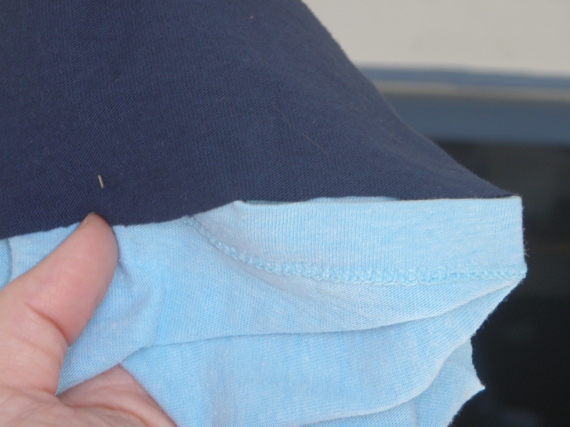
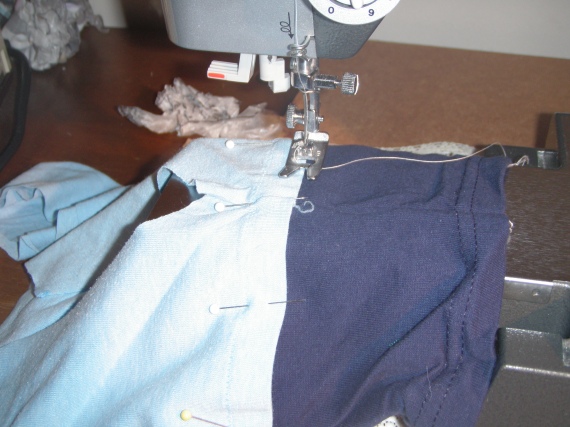
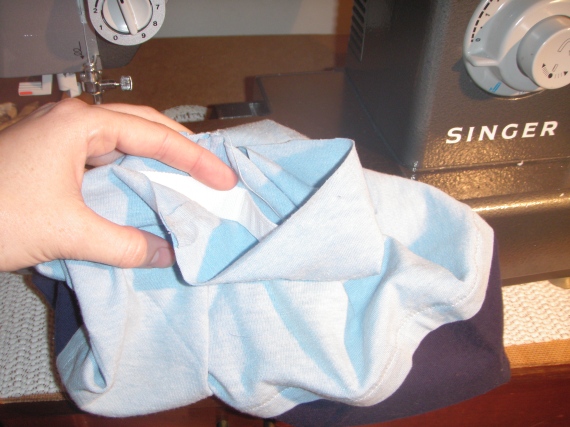
I then tucked the dark blue sleeve into the light blue one, lining up the cut edge with the edge of the hem inside the light blue sleeve. Then I stitched over the hem stitch line of the light blue sleeve, catching the dark blue one on the inside, stretching lightly as I went.
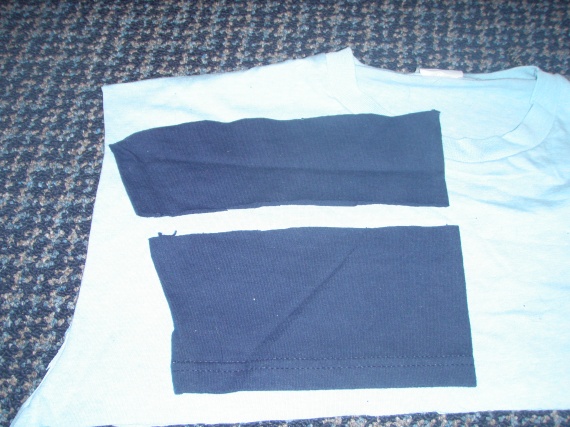
Next I used the ready-made shorts as a guide for cutting the crotch of the new shorts. Lay the sleeve flat with the underarm seam as the new inseam of the shorts. Cut the crotch shape. It doesn’t have to be exact and the front doesn’t have to be different from the back since these are knit shorts.
Sew the crotch seam.
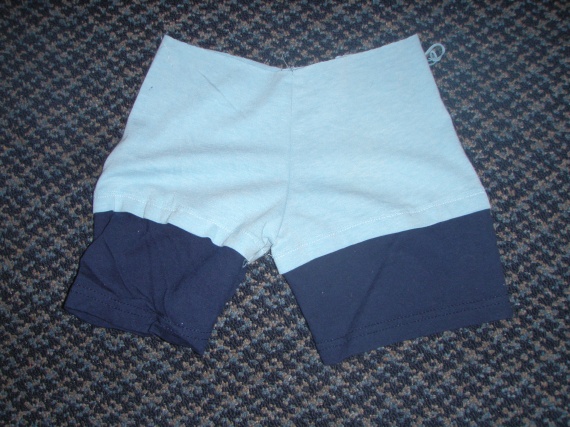
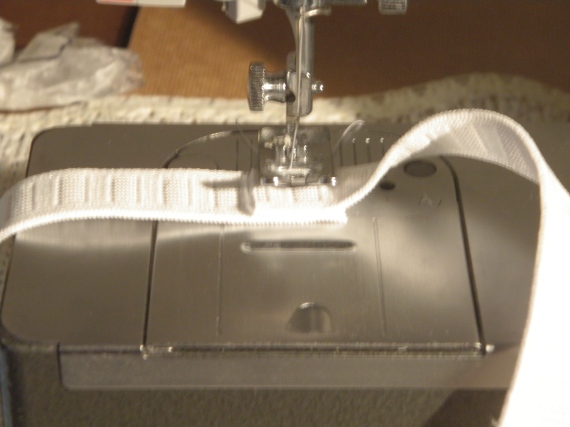
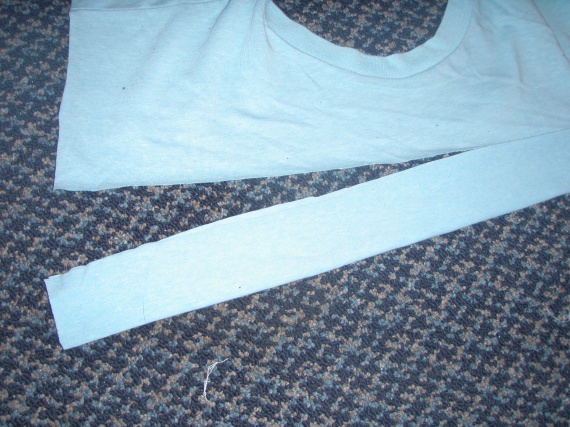
To finish the waist I cut a strip of fabric from the leftover upper portion of the light blue tshirt. I made it two times the width of my elastic plus seam allowance (approx. 2.5″ since I was using a 1″ elastic.) and the same length as the waist of the shorts. I cut a piece of elastic to fit my son’s waist and stitched the ends together to form a loop. I stitched the strip of fabric together to form a loop and folded it over the elastic. I then stitched the encased elastic to the shorts making sure to stitch only through the fabric and not the elastic.
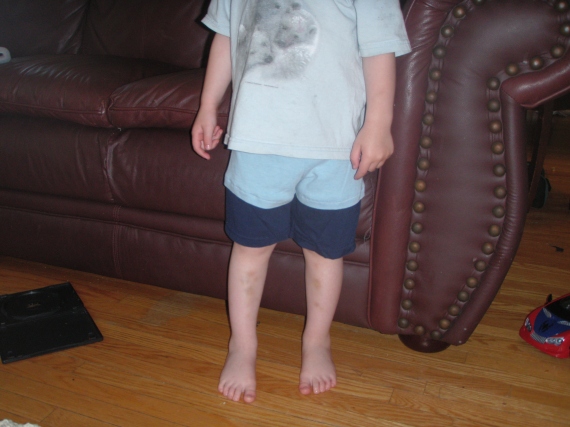
And then just trim the threads and put on your favourite toddler!
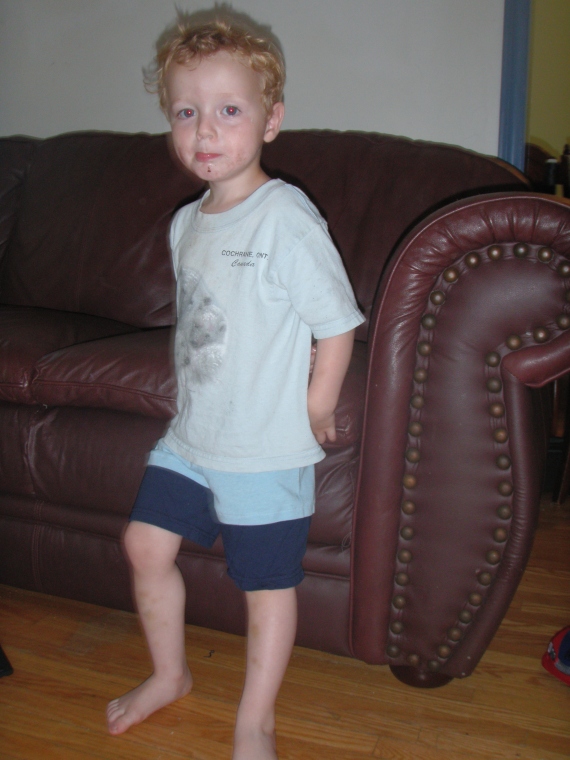
Some thoughts on this project:
if the sleeves are long enough you don’t need to double them up.
I realized as I was adding the photo’s that I cut the crotch before I added the other sleeve to add length. There really is no right or wrong way to do this, it’s all about getting the finished product. lol!
You may want to wash the face of the toddler you give your shorts to before taking their picture.


Posted by 8 Ways to Reuse Your T-shirt - Earth911.com on July 27, 2009 at 7:02 am
[…] Punkn’s (a different approach: easy to do, fun to wear) […]
Posted by Kelli Garner on September 30, 2009 at 2:43 pm
Thats very good to know… thanks
Posted by 8 Ways to Reuse Your Costume - Earth911.com on October 26, 2009 at 7:04 am
[…] chilly outside, remake your tee into a cute scarf. Create a thin, lightweight scarf for fall, like this favorite of ours by Punkn’s, to wear with your worn-in […]
Posted by Krista on May 6, 2010 at 7:26 pm
Thank you for this tutorial! It’s well written. I’m making some lushes from turquoise and orange/coral t-shirts. They’re looking great! One thing I would add is a t-shirt without any side seams would be best, I lost a few of my loops due to popped seams.
Posted by cindy on September 30, 2010 at 7:14 pm
just saw this article as a costume link – and it couldn’t have come at a better time. I just had surgery and needed to cover a small scar with something fun and funky. Loved that I could make it w/out leaving home!! I didn’t tie my strips together. I want to be able to mix and match my 3 colors…
Posted by Crafty Thursday – Necklscarf | A Random Sampling on March 3, 2011 at 6:43 pm
[…] Crafty Thursday – Necklscarf Posted on March 3, 2011 by Sarah I can’t take credit for this project. Megan and Jamie made them first. And I do believe that they found the tutorials here, and here. […]