Posts Tagged ‘pants’

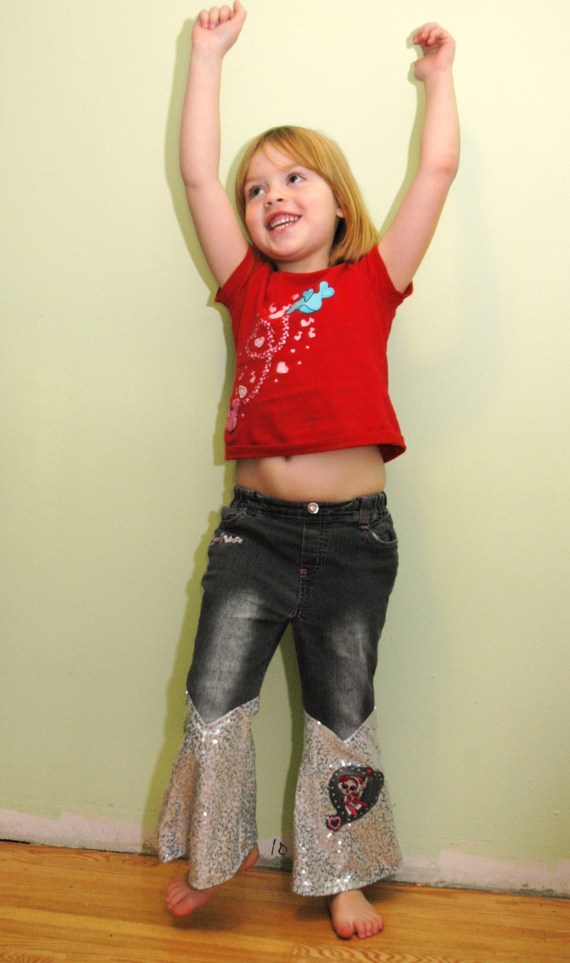
All that glitters…a quick tute to extend the life of a pair of kids pants.

K, so I’m not done the sparkle dress yet, it is cut out and waiting for me to do.  In the meantime I made up a couple of pillows using another sequin fabric we had at work.  I had a bit left over so I decided that it would be great for fixing a pair of my daughters pants.

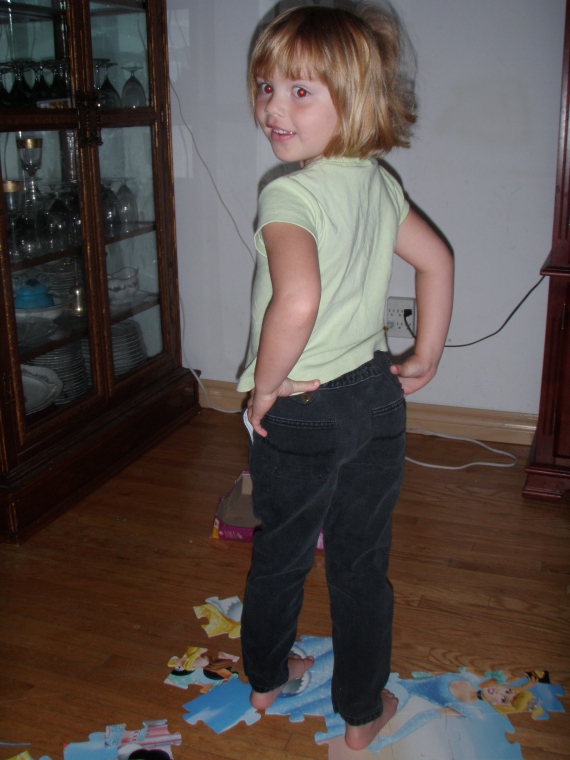
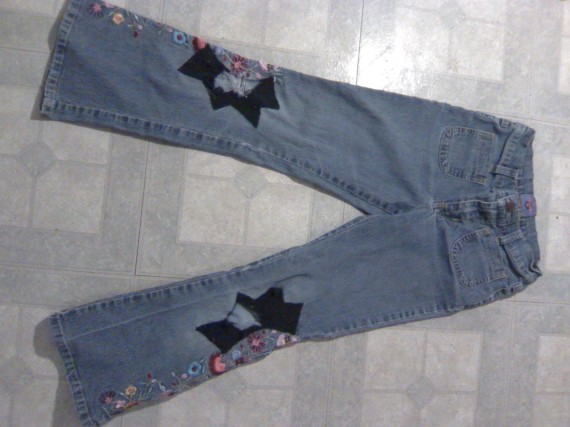
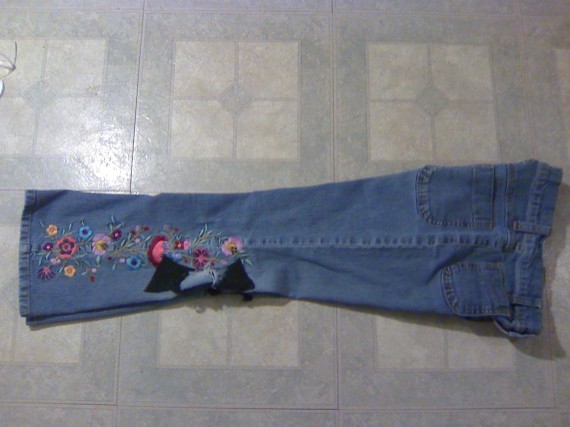
She got a pair of jeans from the Salvation army a few months back during one of their dollar sales.  She loved them, wore them all the time and then the inevitable happened.  She got holes in the knees.  The pants were starting to get a bit short anyhow but they still fit in the waist.  Fixing them wouldn’t be a problem since the style already had a seam right around the knee area so all I had to do was cut of the legs at the seams, use the cut off bottom portions as pattern pieces and add new fancy bottoms to her pants!

Here’s what I did, you can adapt this to any pair of pants and the fabric you choose can be gender appropriate of course.

Materials:
Old jeans
Scissors
fabric for new pant legs
iron

I split the pants up the side seam and trimmed the leg off at the seam that was at the knee.   If your pants don’t have this particular seam (and they probably don’t since this is purely for design) just cut off the pant leg slightly above the knee (or just below would work too) so the seam doesn’t run directly across the knee.  Nothing is more uncomfortable than a line of bulky fabric right across the kneecap.

DSC_1124

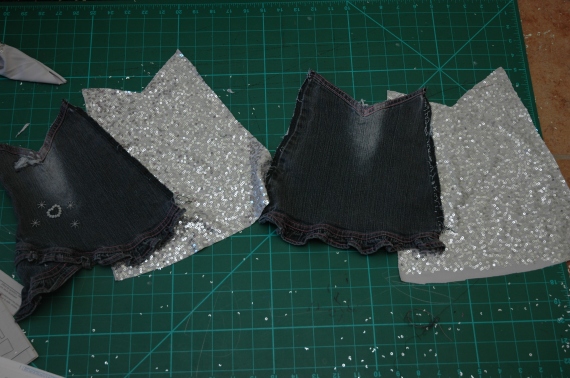
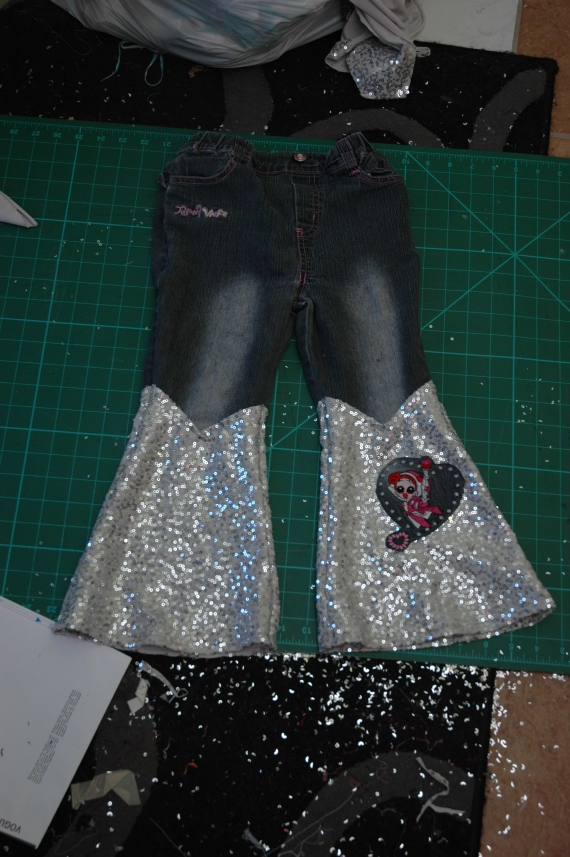
I was instructed to keep the little embroidered girl on the right leg so I cut it out to put it back on the new leg as an applique.  Next I ironed the jean pant leg so the seams were out flat.  Then used it as a pattern piece to cut out the new legs.  I added some length to the new ones while I was at it so she could get some more time out of the pants.

DSC_1127

Then I just sewed the new pant legs on, sewed up the side seams and hemmed them.

DSC_1128DSC_1166

Some thoughts on this project:

The type of fabric you use will determine the final look of the pant.  Choosing a more casual fabric would have given the pants a more casual look.  Choose your fabric based on your child’s favourite colours, prints etc and try to choose something that is similar to the pants fabric.  The fabric I used was a thicker knit but the jeans had a lot of stretch to them so the two fabrics actually worked out well together.

This works for boys pants too, just choose fabrics more suited to your little man.

This is a great way to reinforce knees too.  create a double layer of fabric across the knee and a single layer of fabric for the lower portion of the leg.

Use your imagination, straight legged pants can become flared leg pants and vice versa.  Just add a strip of fabric an inch or so above the hem if all you need is to add some length and the pant leg is in good shape.

Bowling shirt and Skinny jeans tutorial two-fer!

I promised and here it is.  Seriously you will laugh at the ease of these two projects.

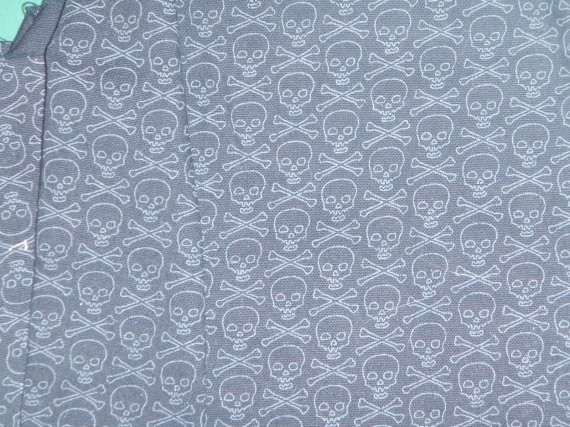
First things first, the bowling shirt. This could work for any size, kids or adult, boys or girls.  My example is a shirt I made for my son.  It’s the same skull fabric I used for his first shirt but it’s white skulls on a black background instead! hehe! Fabric choices are totally up to you but crisp cottons work great for this project.
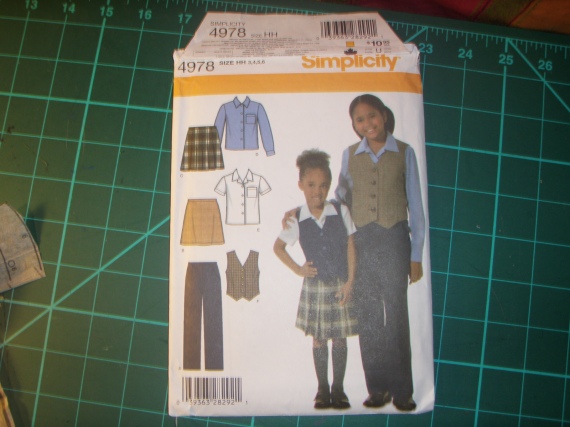
One thing I want to say on the subject of boys clothing is think outside the box.  We get so caught up with images that we can’t see past them.  One thing I hear complaints about the most when it comes to sewing for boys, and I’ve made this complaint myself, is the lack of boys patterns both in fabrics and in sewing patterns.  I’ve found that a lot of the girls patterns I have for pants, shirts and shorts can easily be transferred to boys with little to no alterations.  The pattern I used for the bowling shirt here is a ‘girls’ pattern but honestly, it’s such a basic pattern they could have easily made this unisex if they had just used a photograph of a little boy AND a little girl, instead of two little girls.  Anyhow, next time you are out shopping for patterns and fabrics for your little man, try to remember that just because it’s a little girl pictured or the sewing sample in the store is ‘girly’ it doesn’t mean that it is just for the girls.

On to the tutorial.

Things you will need:

shirt pattern – you don’t want anything too fitted and it doesn’t have to have short sleeves, fancy yokes, pockets etc.  The more basic the better.  I used Simplicity 4978.
Main fabric – in the amounts indicated for the size you are making
Contrast fabric – this will depend also on the size you are making so read the tutorial completely and you should have a better understanding of the amount you will need.
interfacing – again, consult your pattern
buttons (4 to 6, I used 5 for this shirt)
scissors
imagination 😀

Start by choosing the size pattern you will make.  Last time I did a size 3 for my son.  It fit but just barely so I made a size 5 this time to give him some growing room.  I then decided to use red as the main fabric for his shirt and the black and white skull fabric as the contrast.
P8290009

P8290010

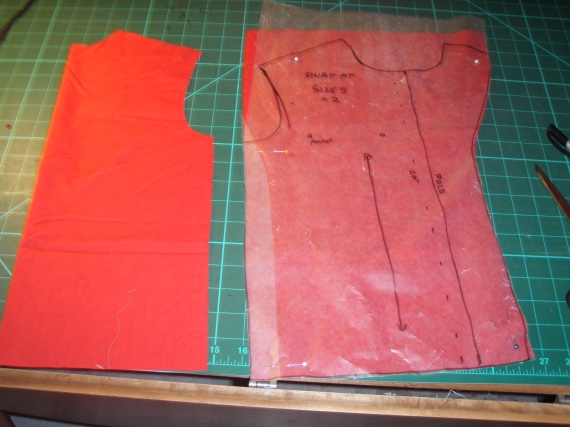
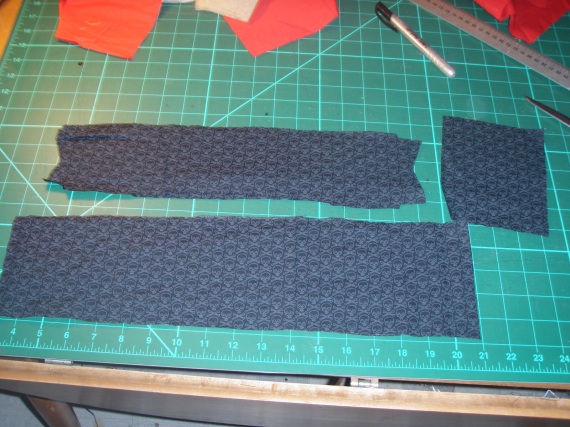
I traced out the pattern pieces I needed onto waxed paper since I plan to use the pattern a few more times.  I cut the front, back and sleeves out of the main red fabric.  I cut the collar and pocket out of the contrast.  The thing that makes this a bowling shirt, for me anyhow, is adding a stripe of contrasting fabric down one side of the front.  In order to figure out how much fabric I need for this I measure from the highest point at the shoulder/neck point and down to the hem.  I cut a strip of contrast fabric that length (you can add an inch or two just to make sure) and I cut the width of it about 5cm (2.5 inches) plus 1cm (.25 inches) on either side to turn under.  Depending on the size of your shirt you can make this wider or narrower, it’s really one of those things that is up to you to decided what you think looks best.
P8290011

P8290012

When cutting out your pieces, take note of the direction of the pattern in the fabric, if there is a pattern.  The skulls on my contrast fabric all go the same direction so when I cut the collar, I made sure that the skulls would be facing up when it’s attached to the shirt, same for the pocket.  Since this was a remnant piece I didn’t have control over the amount I got, so the skulls on my stripe actually go sideways.  Ideally, I would have bought enough fabric to cut the stripe so that the skulls were all going up.

Once the pieces are cut out, apply interfacing to your front facings and under-collar.  If you are doing long sleeves with a cuff, you will probably interface the cuff.  Follow the instructions on your pattern for this.  Next step is to add your pocket and stripe to the front pieces.  If you are doing a pocket and it’s not included in your pattern just cut a piece of paper into a square shape or whatever shape you want.  When you have something you like, add seam allowance and cut it out.  You can put your pocket on whatever side of the shirt you like, the stripe will go on the opposite side.

Next turn under 1cm (1/4 inch) of the long sides of the stripe piece to finish the edges.  Position it on the front of the shirt without the pocket and make sure that it is far enough away from the center front that it will not be covered by the buttons.  I could have put my just a little more to the side but it still looks ok.
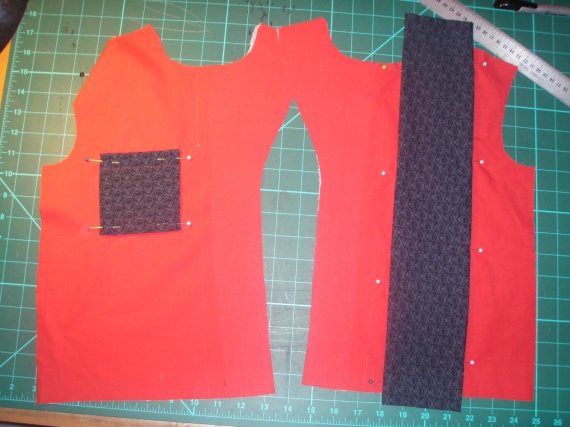
P8290014

Pin everything in place and topstitch.  I used a contrasting red thread but you can use a matching thread if you like.
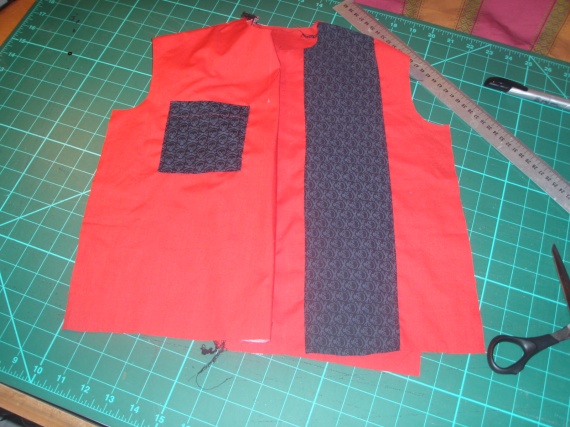
P8310017

And there you go!  Finish the shirt like the pattern instructs or however you might normally finish it if you are like me and don’t read the instructions.  🙂
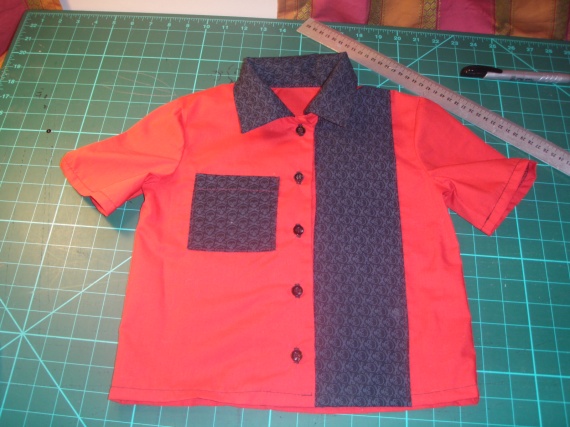
P8310020

Now for the skinny jeans!  Again, this could apply to kids or adult, boys or girls and you can adapt the info to re-construct a pair of jeans/pants you already own.

Things I used for this:
Pant pattern (I used Burda 9626 but any basic pant pattern can work)
Tracing paper
Old pair of jeans (you can use fabric yardage too, just consult the pattern for the amounts you will need)
knee, calf and ankle measurements
scissors
calculator (or lots of paper to write out your math equations. 😀 )

I chose the pattern size that closest fit my daughters hip measurement.  I then measured her knee, calf and ankle and wrote those down so I wouldn’t forget.  I traced out the pattern pieces I needed using waxed paper.  Wax paper is cheap and perfect size for most patterns I need to trace but you can use any transparent paper you have around, I’ve used old patterns that I know I will never use again.
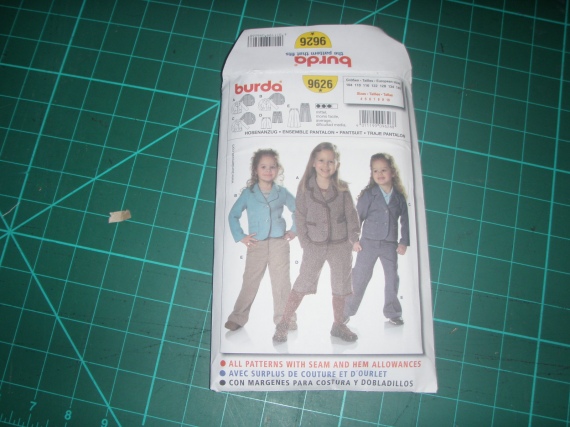
P8260001

Next I prepped my jeans.  I cut up the leg seams and crotch seam.  I was careful to cut out the zipper so that I could re-use it.  I also took off the back pockets to reuse.  I planned to reuse the waistband as well but the button wasn’t in good condition so i used the waistband off of another old pair of jeans I had.  I pressed each piece flat and then I prepped my pattern.

Here’s my math.  To determine the width I wanted around the knee I added 2.5cm (1 inch) to the measurement I took.  I then divided that number in half.  I measured across the knee of the pant pattern front and subtracted the knee measurement I had just determined.  I can’t remember my exact measurements but for example, if the knee measurement was 20 cm (8 inches) then I added 2.5cm (1 inch) to total 22.5cm (9inches) for the knee.  Half of that would be 11.25cm (4.5 inches).  If the front pant pattern knee measurement was 20cm (8 inches) then you would subtract 11.25cm (4.5inches) from 20cm (8 inches) to get the difference of the two knee measurements.  Therefore I would need to remove 8.75cm ( 3.5 inches) from the knee.  Divide that number in half to get the amount to take off equally on each side (4.5cm (1 3/4inches).  Do the same for the calf and ankle measurement.  Mark on the traced pattern the amounts you need to remove from the sides to get a close fit and redraw your side seams.  Do this for the pant back as well.Make sure to re-add seam allowance.  If the fit isn’t close enough when you are finished you can always take it in some more.
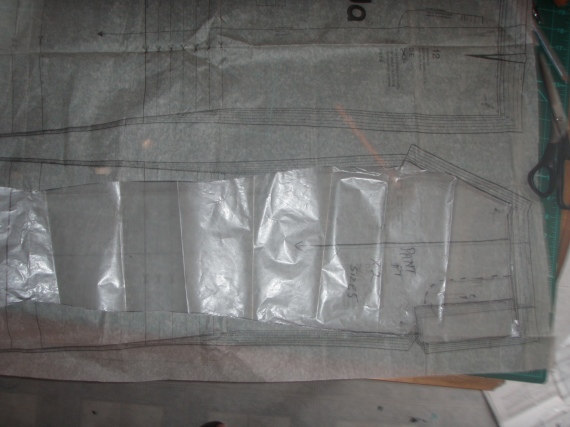
P8260004

I forgot to take pictures of the rest but basically what I did was laid out my front pattern on my jeans front matching the finished hem with the actual hem on the jeans.  I then did the same for the back.  I re-cut the pockets to fit the new smaller jeans and re-used the original jeans zipper.  I cut new belt loops and re-used the waistband from another pair of jeans.  I cut it to the length of the waist of the jeans, keeping the original button and making a new button hole.

Here’s the finished pair (these are a size 5 for my daughter).
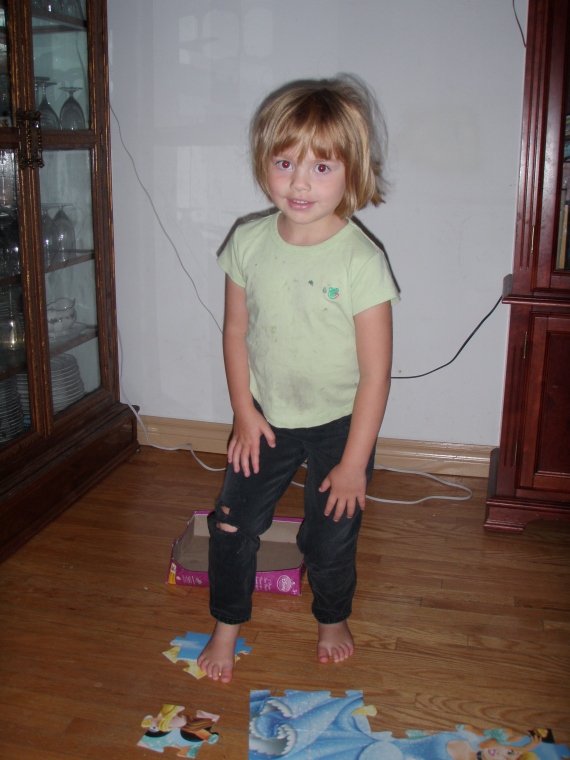
P8240100

P8240101

Some thoughts on the skinny jeans:

-you may want to measure around the ball of the foot to make sure that the foot will fit through the ankle opening.

-I decided to distress the jeans a bit so I made use of a cheese grater, sandpaper and my scissors to create holes and worn spots.

– if you are wanting to make regular jeans into skinny jeans you can use the same math as above but subtract the difference in measurement directly from the jeans.  You can also put the jeans on inside out and pinch and pin out the excess.

-I had to add elastic to the back waist.  You can do this by cutting  slits in the inside waistband at the side-seams, making sure not to cut right through both layers of fabric.  Insert a piece of elastic and secure with stitching at one side.  Draw up the elastic to the whatever you need and secure the other side. tuck in the elastic ends and whipstitch the openings closed.  See my post about cut offs for the little lady to see pictures of this.
T-shirt sleeves into shorts and a t-shirt scarf, mini tute

A few weeks ago I agreed to do a pay-it-forward gift exchange.   A friend had posted a note on their facebook profile that the first five people to leave a comment would receive something handmade by her.  The deal was there was no set deadline, but it would be within the year, no set value and no notification of when or what was being sent.  It could be something crafted, it could be a box of cookies or a full on meal.  The only stipulation was if you left a comment that you had to re-post the note on your profile and agree to do the same for the first 5 people who commented and so on.

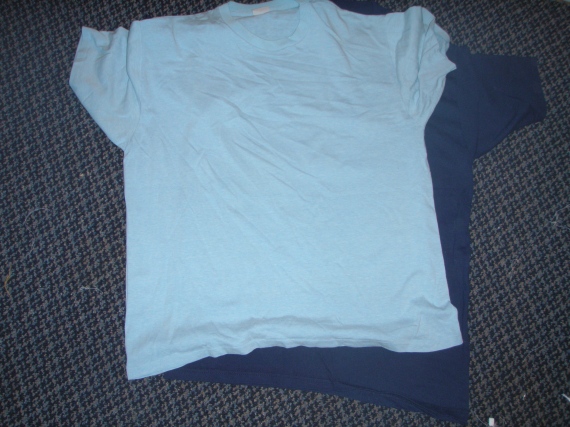
I really didn’t know what to make and then I came across a tutorial on This Old Dress.  I didn’t want to buy anything new to make my PIF’s so I dug in my sewing closet (yes I actually have to dig in there) and pulled out two t-shirts to use.  The original tute shows how to decorate the fabric with fabric paints to create more interest but I didn’t have the time or motivation (or paint for that matter) to do that so I chose a navy blue and light blue tshirt and figured the two together would make it interesting enough.

P6240008

For this project you need one or two tshirts, the bigger the better, depending on how full you want your neck lush to be.  You can use tshirt fabric for this too, just sew up two rectangles with a zigzag stitch to create a tube.

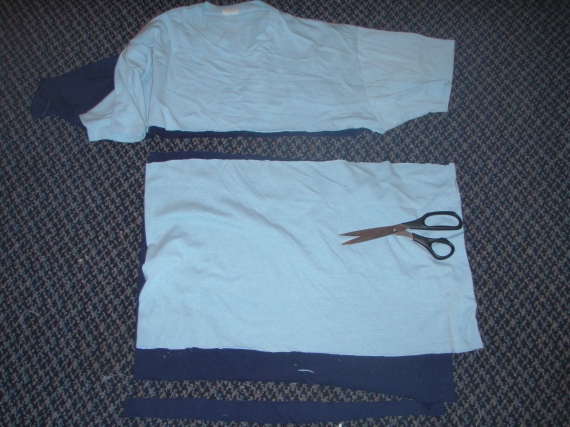
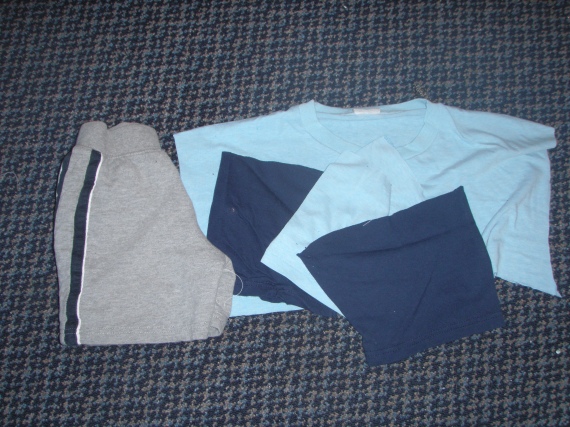
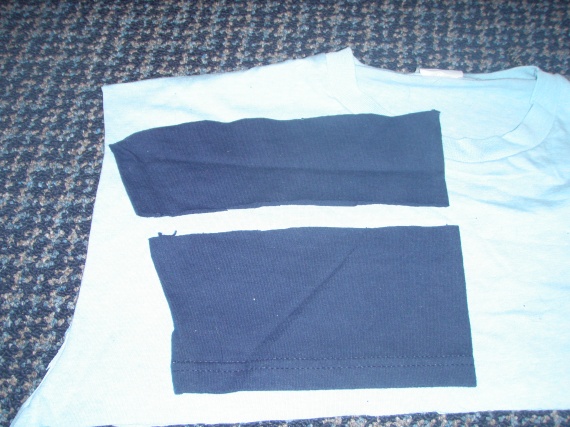
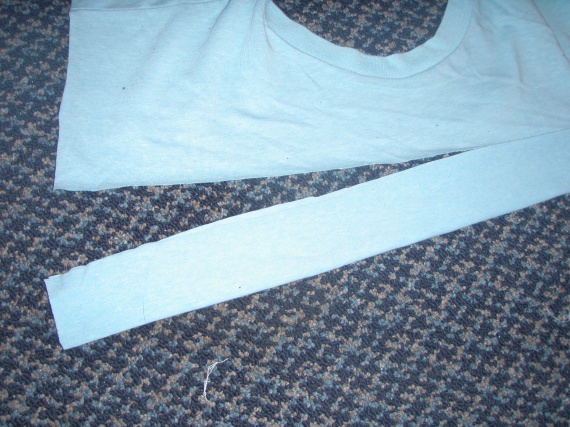
Lay out your tshirts flat.  cut off the hem and cut off the body portion just at the underarm point.

P6240009

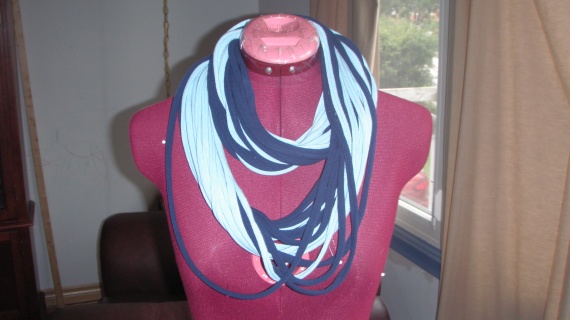
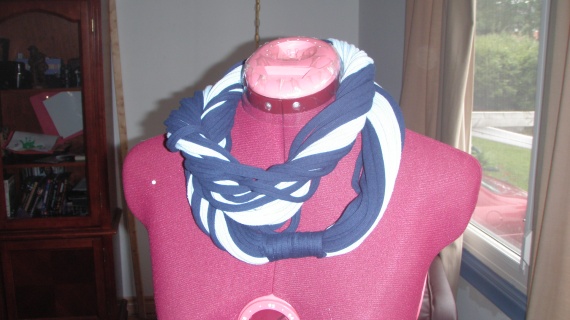
Set aside the top portions of the shirts for the next tutorial and hang on to the bottom hem pieces.  Cut the two body portions of your t-shirt into horizontal strips so that you have loops.  I cut mine about 1″ (2.5cm) wide.  Next come the easy part, take each loop and give it a good stretch.  The fabric should curl up and almost double in length.  Once you have stretched all your loops you will want to tie them together.  Hold all the loops in one hand and wrap one of your hem pieces around the bunch and tie a knot.  And that’s it!   fun, super soft, versatile scarf.

P7030001P7030003

Some thoughts on this project:

The bigger your t-shirt, the longer your loops will be, the more you can do with your scarf.

This will work best with cotton t-shirts (or cotton knit fabric from the fabric store) as it will stretch out and stay stretched out.  Any amount of spandex/lycra in the fabric will simply cause it to shrink back up to its original size.

Experiment with painting and dying your t-shirts to create a little interest in the finished product but do this before cutting your t-shirt in to strips.

If you sewed a piece of fabric into a loop for this project, be sure to wrap your hem piece (or extra strip of fabric) around the seamed area to cover it as it doesn’t look the nicest.

Now that you have finished your fun scarf and are looking pretty trendy right now, what do you do with the leftovers?

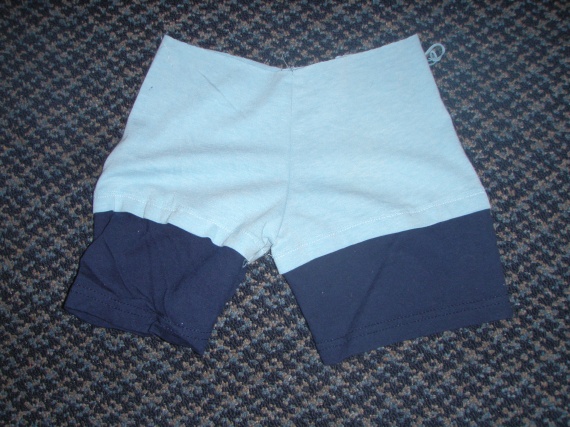
You can cut the sleeves and upper body portion of your shirt into strips and make some bracelets or whatever but if you have a toddler hanging around your house (or maybe one or two hanging out at your friends or family’s houses) make a pair of one of a kind shorts!

For this project I used the sleeves from the two t-shirts I make my tshirt scarf out of.  I also used a pair of my son’s shorts as a guide.

I used two sets of sleeves for this as I felt that one set would be a bit too short.  it really depends on the length of the sleeves of your tshirt so use your own judgement.

P6240010

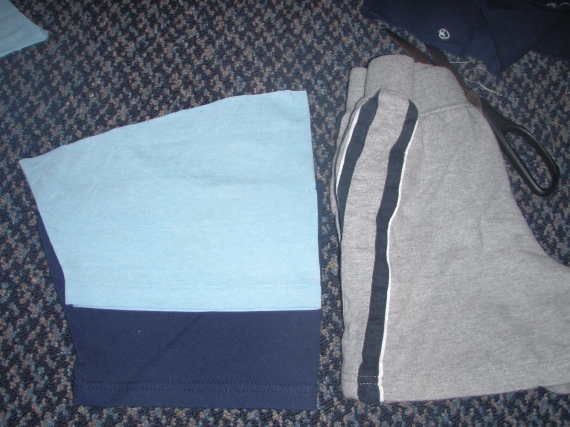
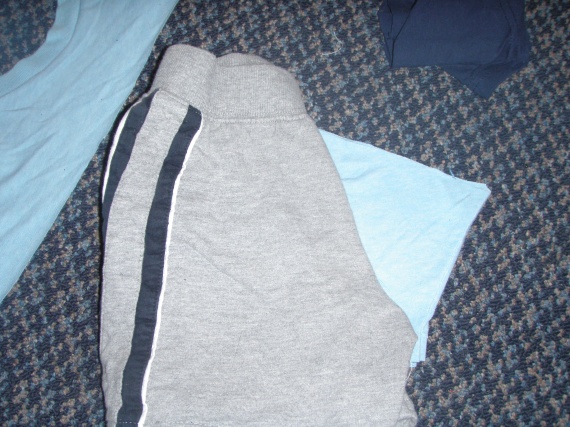
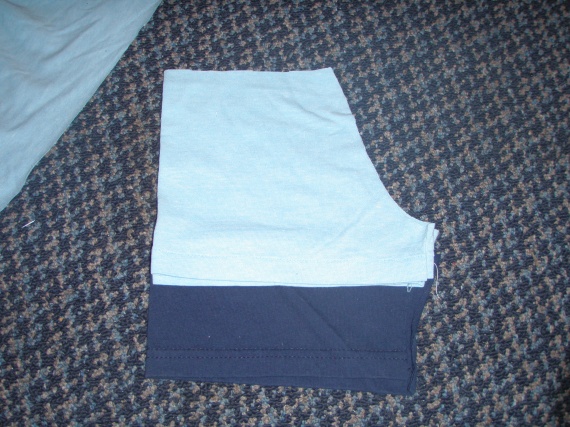
I laid a light blue sleeve on top of the dark blue sleeve and used the ready-made shorts as a guide for length.  I then trimmed off the excess fabric from the dark blue sleeve making sure to leave it long enough to attach to the hem of the light blue sleeve.

P6240011

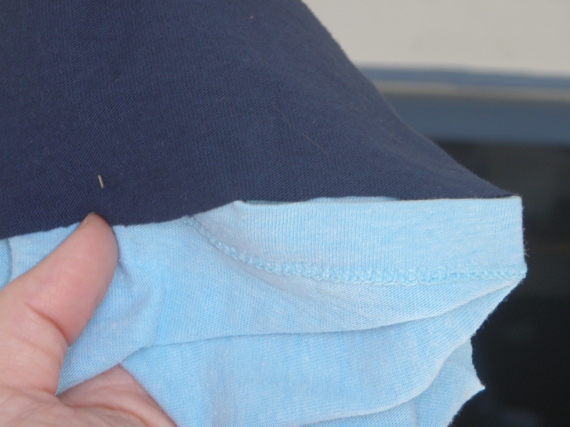
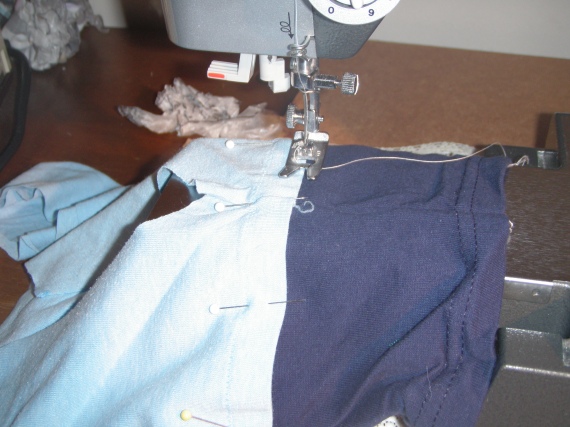
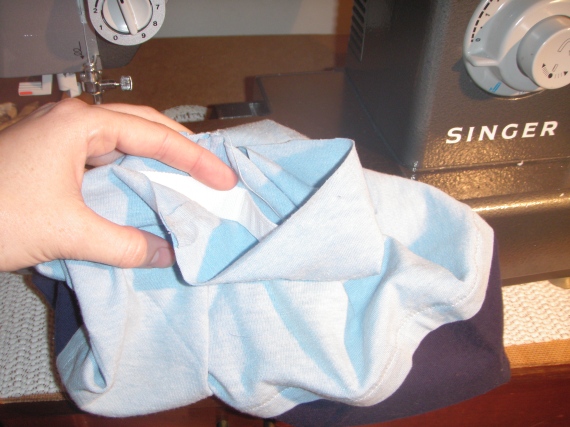
I then tucked the dark blue sleeve into the light blue one, lining up the cut edge with the edge of the hem inside the light blue sleeve.  Then I stitched over the hem stitch line of the light blue sleeve, catching the dark blue one on the inside, stretching lightly as I went.

P6240014P6240027P6240028

Next I used the ready-made shorts as a guide for cutting the crotch of the new shorts.  Lay the sleeve flat with the underarm seam as the new inseam of the shorts.  Cut the crotch shape.  It doesn’t have to be exact and the front doesn’t have to be different from the back since these are knit shorts.

Sew the crotch seam.

P6240016

P6240018

P6240030

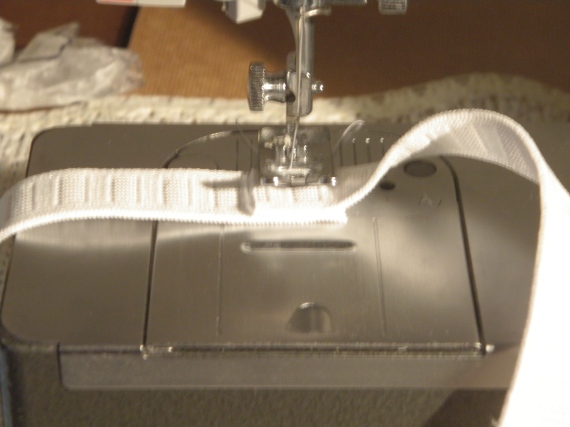
To finish the waist I cut a strip of fabric from the leftover upper portion of the light blue tshirt.  I made it two times the width of my elastic plus seam allowance (approx. 2.5″ since I was using a 1″ elastic.) and the same length as the waist of the shorts.  I cut a piece of elastic to fit my son’s waist and stitched the ends together to form a loop.  I stitched the strip of fabric together to form a loop and folded it over the elastic.  I then stitched the encased elastic to the shorts making sure to stitch only through the fabric and not the elastic.

And then just trim the threads and put on your favourite toddler!

P6240034

P6240015

P6240036

P6240037

P6240038

Some thoughts on this project:

if the sleeves are long enough you don’t need to double them up.

I realized as I was adding the photo’s that I cut the crotch before I added the other sleeve to add length.  There really is no right or wrong way to do this, it’s all about getting the finished product. lol!

You may want to wash the face of the toddler you give your shorts to before taking their picture.

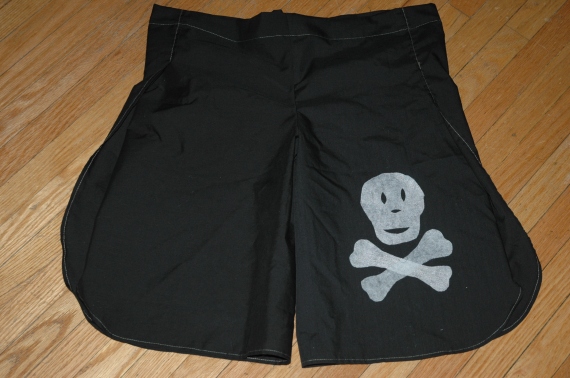
Pirate Pants! (aka quick tute for kids ‘wrap’ pants with super easy applique)

I totally forgot to take pictures of the fabric layout when I first started.  Sometimes I just get ahead of myself.  🙂

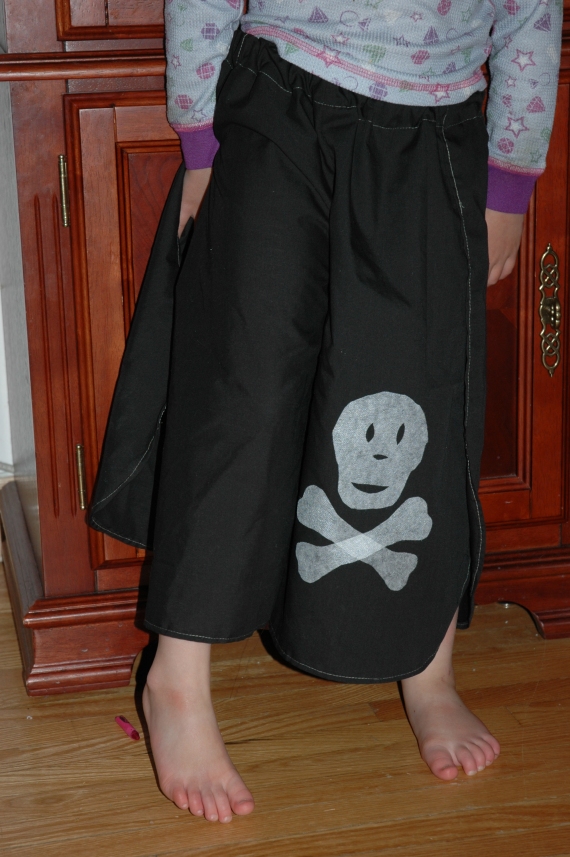
My daughter has been invited to her first birthday party and its a pirate theme.  All the kids are supposed to dress up in pirate garb so I decided to make a pair of pants for her to wear.  I had made these before based on a tutorial I found on Blueprints blog, by VegBee.  I loved the look of wrap pants and they seemed like they would be uber cool for warm weather but the only downside was the idea of tying and untying the waist for potty breaks, not to mention this was not something she would be able to do on her own.  So when I read VegBee’s idea to make them elastic waisted (and to stitch the sides down to prevent bum peekaboo) I knew I had to make a pair.

She has long grown out of those first pair and I thought a new pair for this pirate birthday party would be perfect.  So here’s what I did to make her pirate pants:

Materials:
black broadcloth
elastic for waist
thread
scrap of iron on interfacing (white)

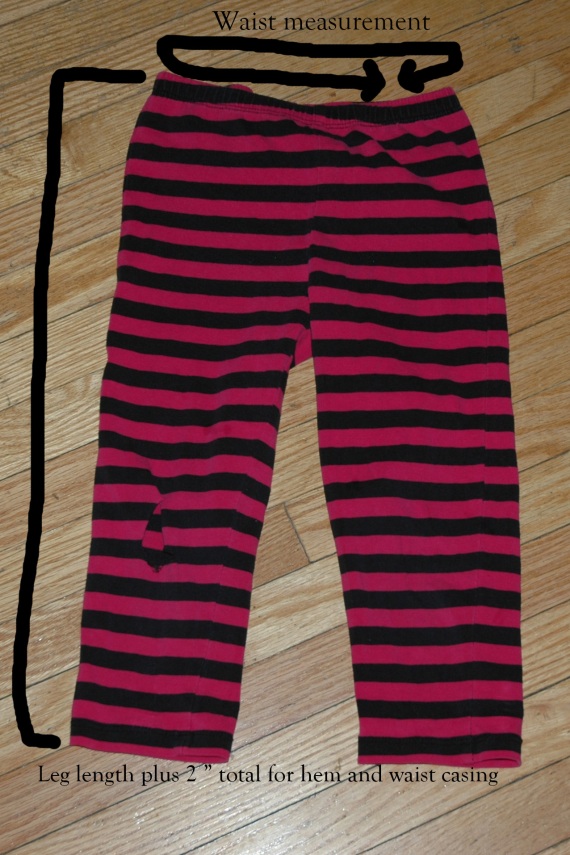
First step was to cut out the pant shape.  To determine how big I needed to cut each piece I borrowed a pair of her pants and measured the waist all the way around.  This was how wide I needed to cut each leg.  I then measured the leg, added about 1/2″ for hemming and 1 1/2″ for turning down a casing for the elastic.  This was how long I needed to cut each leg.

DSC_0244

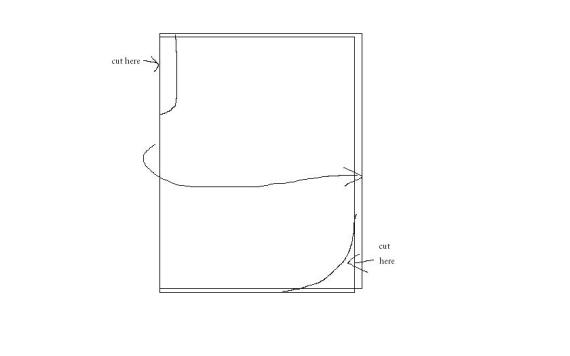
I cut two rectangles this size and laid them on top of each other.  I then folded in half width wise.  I wanted a curved hem so I trimmed off the bottom corner into a slight curve (a sharp curve is harder to hem).    Next was to cut out the crotch shape.  To do this I used her pants again as a template.  I folded the pants in half and laid them on the fabric.  It’s best to use a pencil to mark the curve at this point.  The front and back can be the same shape, these are pretty easy fitting pants.

DSC_0245pant diagram

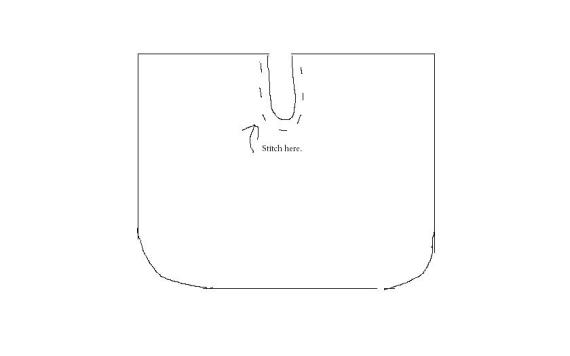
Open out the rectangles and hem the sides and bottom.  There will be a ‘U’ shape cut out in the middle which is your crotch seam.  Lay the rectangles on top of each other and sew the crotch seam.  I did a french seam but serging or zigzagging the seam would work just fine too.

pant diagram2

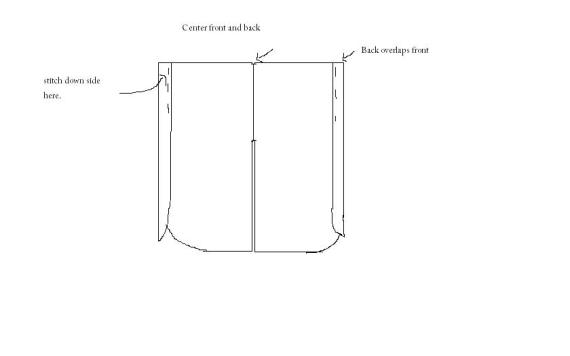
This next step is kinda hard to explain so forgive me if it’s a bit unclear.  Once the crotch seam is sewn you need to stitch the sides together.  To do this match your center front and center back.  Overlap the sides by 2 to 4 inches (it’s really up to you) and baste them together at the waist.  Next stitch down the side along stitch line of the hem of the overlapping side.  You only need to stitch down a few inches, I think I did about 5 or 6 inches.

pant diagram3

Next I turned down the casing for the elastic.  You can either stitch a button hole at the center back or leave an opening to insert the elastic through.

After stitching the casing I applied my applique.  This was quick and super easy.  Take your scrap of white iron on interfacing.  Cut out a skull and bones.  Iron them on. Done!  I have my doubts this is a very durable applique but I figure it will probably last long enough for the party.

DSC_0240

Insert your elastic and the pants are done!  Cute, simple and fun to wear.

DSC_0243

Some thoughts on this project:

This is most suitable for light to medium weight fabrics.  If the fabric is too heavy, like a stiff denim, it will not gather at the waist properly and may cause the legs to be stiff and odd looking.

You can leave the corners of the sides of the legs as is instead of rounding them off.  Or you could scallop them or add trim, or use bias binding to finish them.

This looks cute in a print as well.

Recycle fabrics from old pants or skirts to make these, saves on buying fabric, but if you are making this for a little one anyhow, you probably only need slightly less than meter or yard.

Cut-offs for the Little Lady

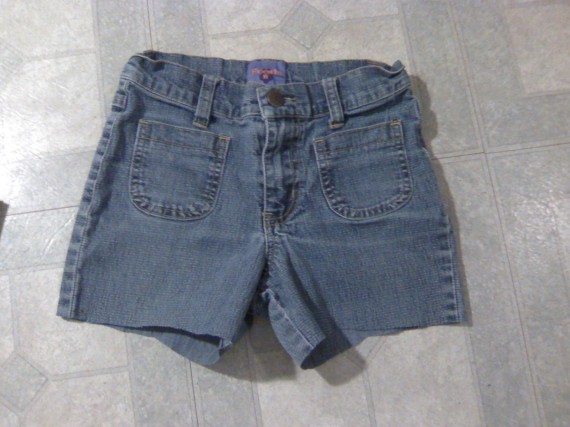
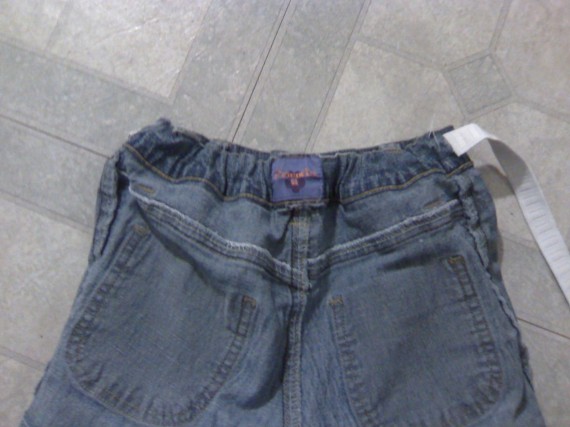
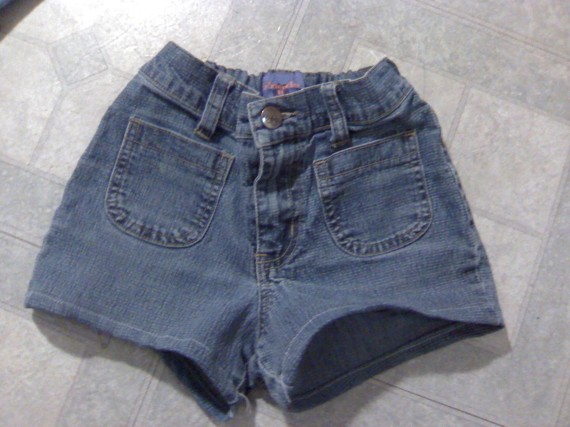
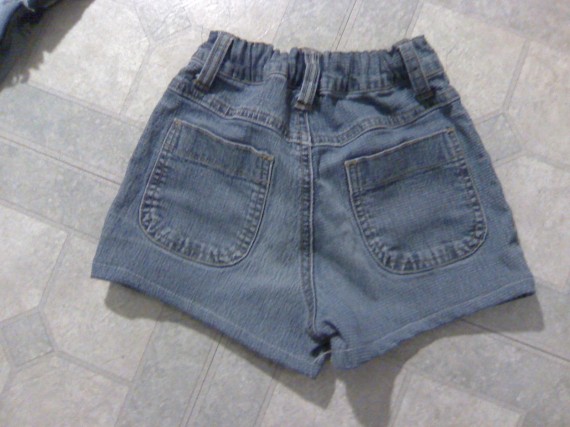
Well, I’m trying to work my way through my stash a bit before I get started on my wedding dress and bra project.  I had this pair of kids jeans that I got from somewhere.  They were in great condition except for the holes in the knees that the previous owner had tried to patch with felt.  Felt, unfortunately, does not wash well so I imagine this was a very temporary solution to the problem.  I contemplated simply fixing the hole and putting the jeans away until later but decided instead to cut them off for my daughter.

Here’s how I went about doing this. (I apologise for the not so great pics, I only have my cellphone camera until my husband gets back from his business trip.)
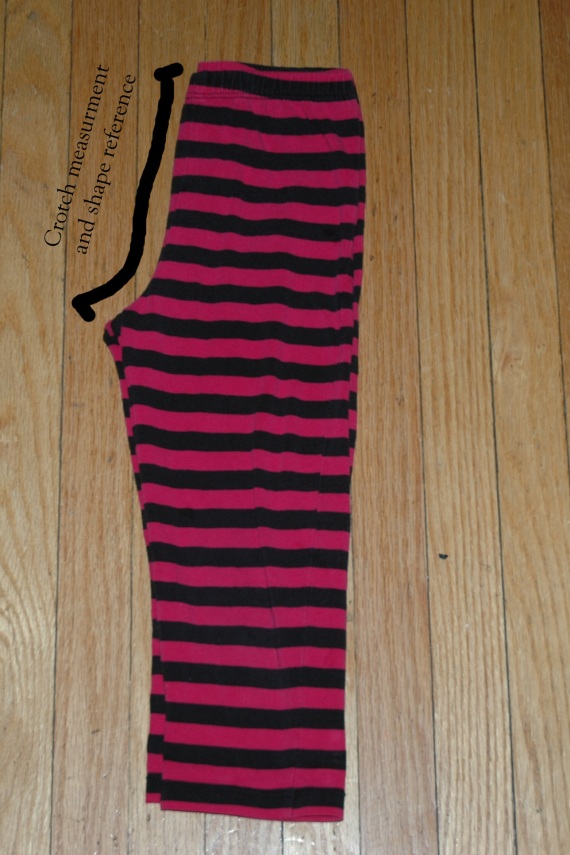
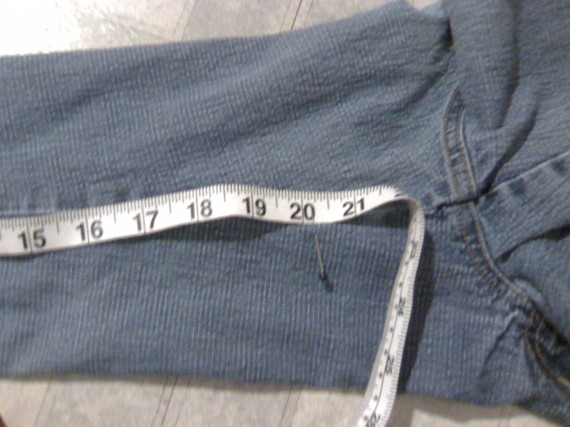
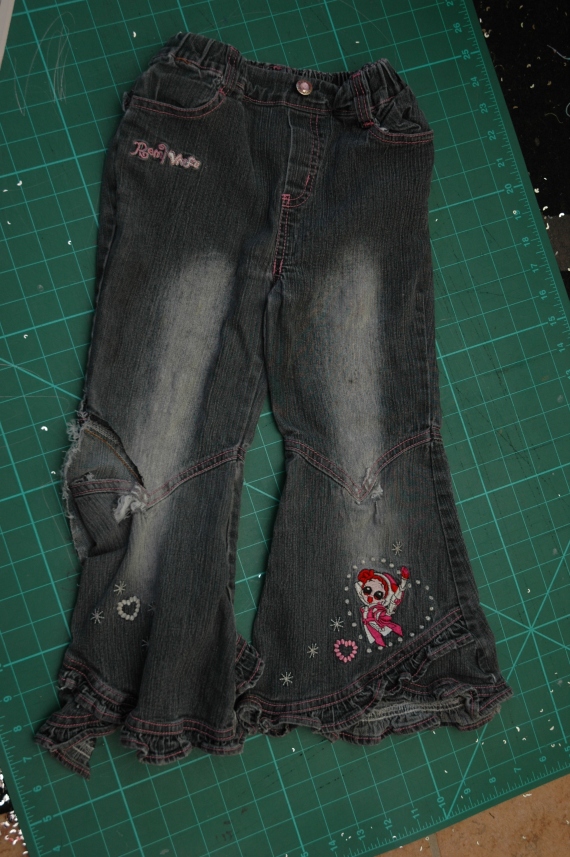
First I laid out the jeans and decided how short I wanted them.  I decided to cut them 3″ below the crotch seam.

0423092156a0423092159a

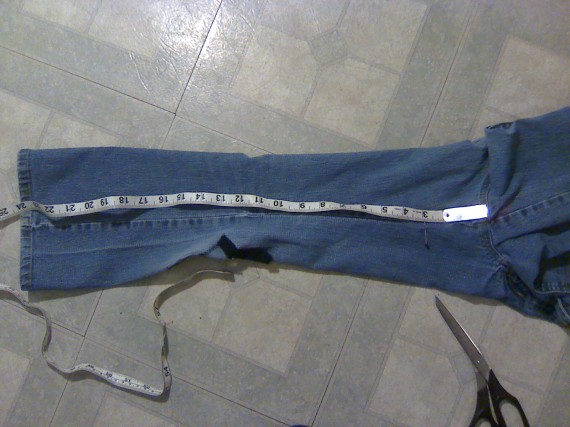
The easiest way I found to cut the legs fairly evenly is to measure up the inseam from the pant hem to the point you want to cut off the leg.  For these jeans it was about 20 inches.  Then I folded the jeans in half so that the inseams were together and measured up 20 inches from the hem and marked a few points to cut along and cut the legs off in one go.
0423092200a0423092201a0423092203a

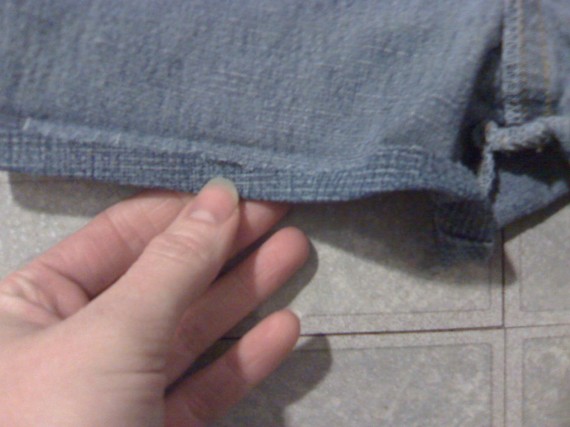
At this point you can either leave it as is for that true cut off look or you can hem them. I decided to hem them since my daughter is somewhat particular about her clothes and I thought she might prefer the hem.  So to hem the shorts I turned up about 1/4 inch and pressed it.  Then turned up another 1/2 inch and pressed.

0423092208a0423092208b

Then I stitched around the hem.  I just used white thread but you can use a thread that matches the top stitching.

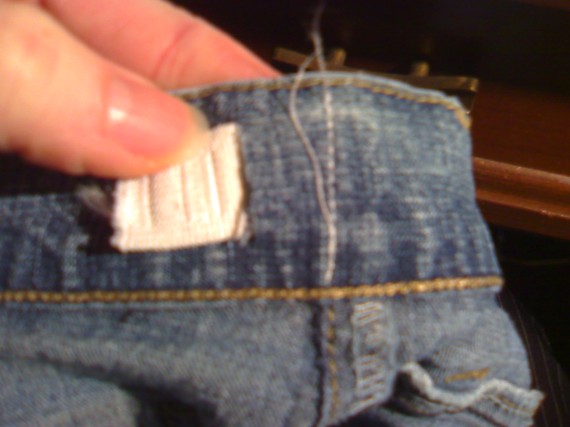
I then had to take this project one more step.  Since the jeans are actually a couple of sizes too big in the waist I wanted to add some elastic.  I cut a slit in the inside waistband just in front of the side seam on both sides.  Be careful not to cut right through both layers.

0423092213a

Next I inserted a piece of elastic into the back portion of the waistband.  I left the elastic long and I’ll explain why in a minute.  Once the elastic is through to the other side, leave about a 1/2 inch tail and stitch through the waistband and elastic at approximately the side seam point.  The reason I left the elastic long is because it can be hard to gauge just how big of a piece of elastic is needed in order to draw in the waistband.  What I did was I measured a pair of pants that I knew fit my daughter and then drew up the elastic in the new shorts to match that measurement.  Then I tacked the elastic inside the waistband the same way I did on the first side, by stitching through all three layers.

0423092215b0423092216a0423092217a0423092219a

Next I trimmed the elastic leaving about a 1/2 inch tail.  I tucked the ends of the elastic into the waistband and then slip stitched the openings closed.  Voila! new shorts for my girl!

0423092219b0423092220a0423092220b

Fuzzy Pants and recycling

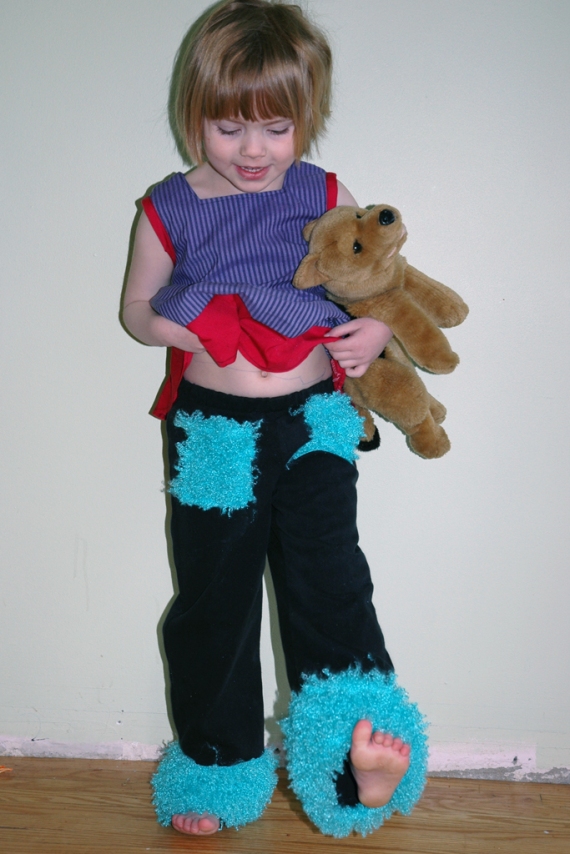
Ages ago I had some minky fabric left over from rescuing a little girls favourite stuffy.  I also had a pair of pants I no longer wore and wanted to make something for my daughter.  I cut up my old pants and cut new pants from the legs.  Then added the fuzzy minky fabric to the hems and for pockets.  She loved them and wore them every where and just about every day.  Eventually, of course, she grew out of them, beyond what I could fix.

Since I work at Fabricland I am subjected to going through the remnants from time to time which usually ends up with me purchasing tiny bits of fabric that I’ve been eyeballing since it entered the store.  Despite my staff discount, I’m still cheap and wait for things to go on super sale. 😀  One day while doing up the remnants I came across this turquoise greenish piece of poodle minky.  If you don’t know what I’m talking about, it’s a knit fabric backing with super curly fur that is really soft and looks like lots of fun.  Most people use this for blankets and items of that nature.  Me, on the other hand, look at all fabrics and wonder what kind of clothing I could possibly make from it.  After some mulling I decided this piece of poodle minky would be happy in my stash at home.

A couple weeks later I finally decided what to do with it.  Fuzzy pants for Parker!  She loved the other pair so much I wanted to make another that would hopefully last her a while.

So into my boxes I dove and found a pair of black pants that no longer fit anyone and had a couple of holes in the crotch that I didn’t really feel like fixing, and I took them apart.  The buttons and zippers were put in my notions box to be used later and I cut new pants for Parker.  I then cut two little squares of the poodle minky for pockets and two rectangles for the hems.  Stitched it all up and Voila! New fuzzy pants! and she loves them, so bonus!

parkerpants

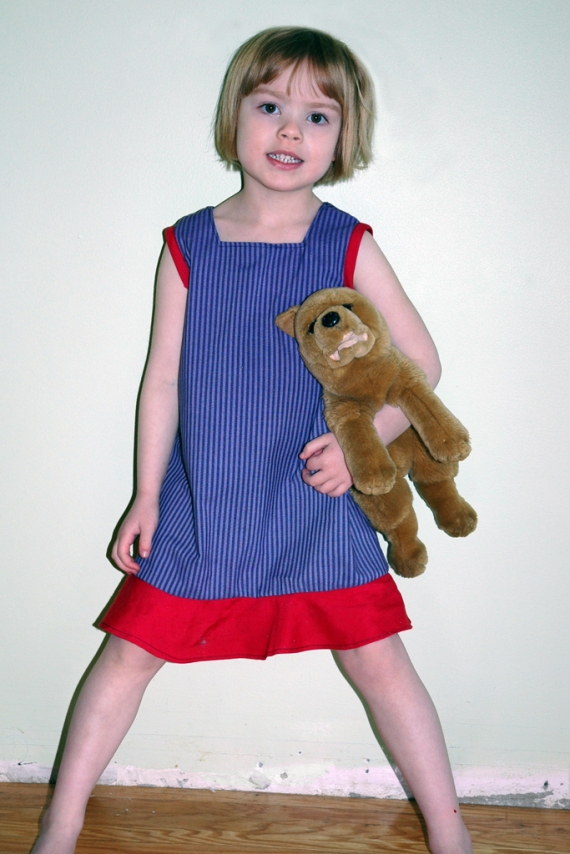
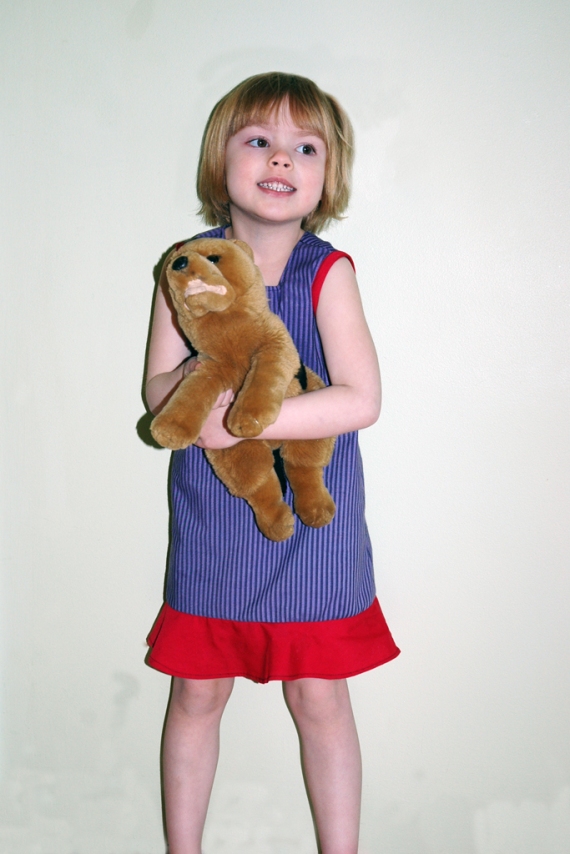
I also finished up a dress for her.  For her second birthday I made her a playhouse by covering a card table with fabric.  It was great and she loved it but hasn’t been playing with it at all for last few months.  I decided it was time to retire it and washed it up, cut it up and now it’s this cute little dress (and I still have some fabric left over to make something else).

parkerdress1parkerdress

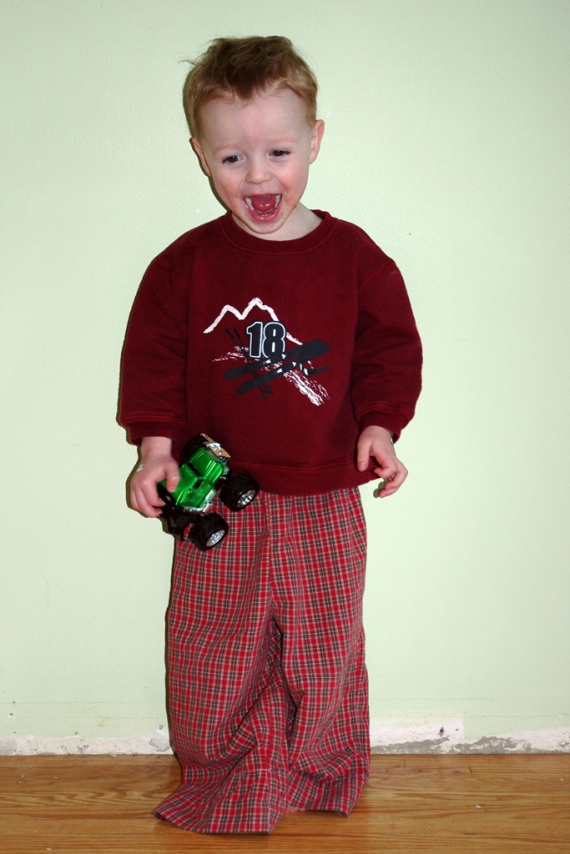
My son was in dire need of pants and he always seems to get jipped in the homemade clothes department (what can I say, girls stuff is more fun.)  So I took a pair of old plaid cotton pj pants and made him a new pair from them.  The nice thing about reusing old clothing to make new clothing is you can actually save yourself some work if certain areas are still in good condition.  For example.  These pj pants were still good at the hems and inseams.  The outer seams were torn (not sure what happened there) but the waist band still had perfectly good elastic in it.  So when I cut Patrick’s pants out, I lined up the inseam of the pattern with the inseam of the pant as well as lining up the hem of the pattern with the hem of the pant.  There, two steps of sewing eliminated.  Then it was just a matter of stitching up the outer seam, crotch, and casing.  I re-used the elastic and presto, new pants for the boy!

patrickpants