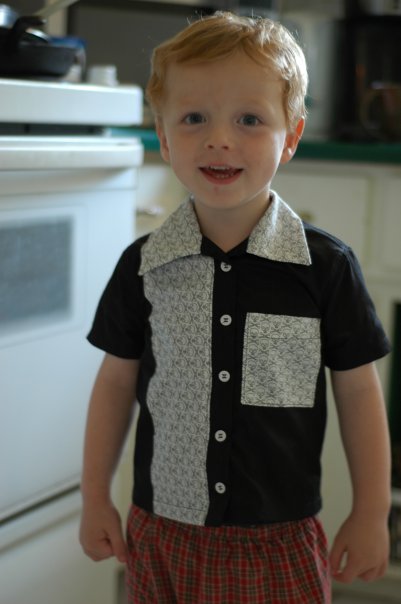
I promised and here it is. Seriously you will laugh at the ease of these two projects.
First things first, the bowling shirt. This could work for any size, kids or adult, boys or girls. My example is a shirt I made for my son. It’s the same skull fabric I used for his first shirt but it’s white skulls on a black background instead! hehe! Fabric choices are totally up to you but crisp cottons work great for this project.
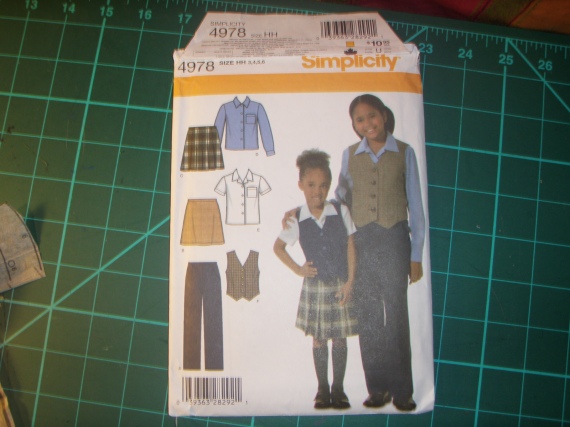
One thing I want to say on the subject of boys clothing is think outside the box. We get so caught up with images that we can’t see past them. One thing I hear complaints about the most when it comes to sewing for boys, and I’ve made this complaint myself, is the lack of boys patterns both in fabrics and in sewing patterns. I’ve found that a lot of the girls patterns I have for pants, shirts and shorts can easily be transferred to boys with little to no alterations. The pattern I used for the bowling shirt here is a ‘girls’ pattern but honestly, it’s such a basic pattern they could have easily made this unisex if they had just used a photograph of a little boy AND a little girl, instead of two little girls. Anyhow, next time you are out shopping for patterns and fabrics for your little man, try to remember that just because it’s a little girl pictured or the sewing sample in the store is ‘girly’ it doesn’t mean that it is just for the girls.
On to the tutorial.
Things you will need:
shirt pattern – you don’t want anything too fitted and it doesn’t have to have short sleeves, fancy yokes, pockets etc. The more basic the better. I used Simplicity 4978.
Main fabric – in the amounts indicated for the size you are making
Contrast fabric – this will depend also on the size you are making so read the tutorial completely and you should have a better understanding of the amount you will need.
interfacing – again, consult your pattern
buttons (4 to 6, I used 5 for this shirt)
scissors
imagination 😀
Start by choosing the size pattern you will make. Last time I did a size 3 for my son. It fit but just barely so I made a size 5 this time to give him some growing room. I then decided to use red as the main fabric for his shirt and the black and white skull fabric as the contrast.
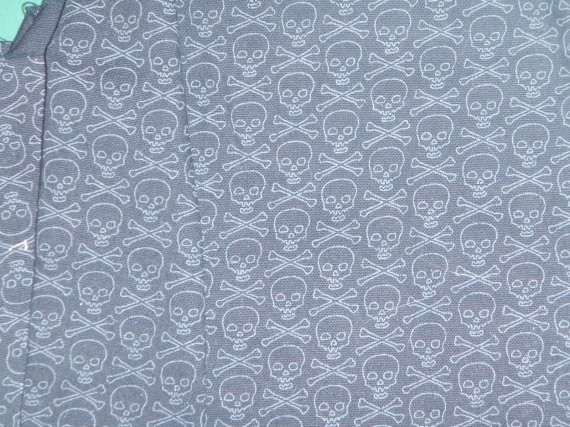
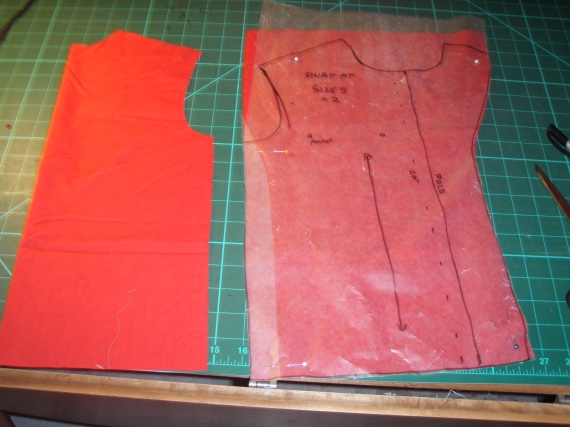
I traced out the pattern pieces I needed onto waxed paper since I plan to use the pattern a few more times. I cut the front, back and sleeves out of the main red fabric. I cut the collar and pocket out of the contrast. The thing that makes this a bowling shirt, for me anyhow, is adding a stripe of contrasting fabric down one side of the front. In order to figure out how much fabric I need for this I measure from the highest point at the shoulder/neck point and down to the hem. I cut a strip of contrast fabric that length (you can add an inch or two just to make sure) and I cut the width of it about 5cm (2.5 inches) plus 1cm (.25 inches) on either side to turn under. Depending on the size of your shirt you can make this wider or narrower, it’s really one of those things that is up to you to decided what you think looks best.
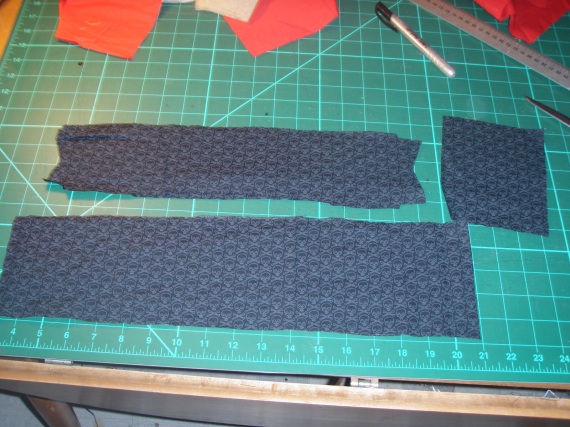
When cutting out your pieces, take note of the direction of the pattern in the fabric, if there is a pattern. The skulls on my contrast fabric all go the same direction so when I cut the collar, I made sure that the skulls would be facing up when it’s attached to the shirt, same for the pocket. Since this was a remnant piece I didn’t have control over the amount I got, so the skulls on my stripe actually go sideways. Ideally, I would have bought enough fabric to cut the stripe so that the skulls were all going up.
Once the pieces are cut out, apply interfacing to your front facings and under-collar. If you are doing long sleeves with a cuff, you will probably interface the cuff. Follow the instructions on your pattern for this. Next step is to add your pocket and stripe to the front pieces. If you are doing a pocket and it’s not included in your pattern just cut a piece of paper into a square shape or whatever shape you want. When you have something you like, add seam allowance and cut it out. You can put your pocket on whatever side of the shirt you like, the stripe will go on the opposite side.
Next turn under 1cm (1/4 inch) of the long sides of the stripe piece to finish the edges. Position it on the front of the shirt without the pocket and make sure that it is far enough away from the center front that it will not be covered by the buttons. I could have put my just a little more to the side but it still looks ok.
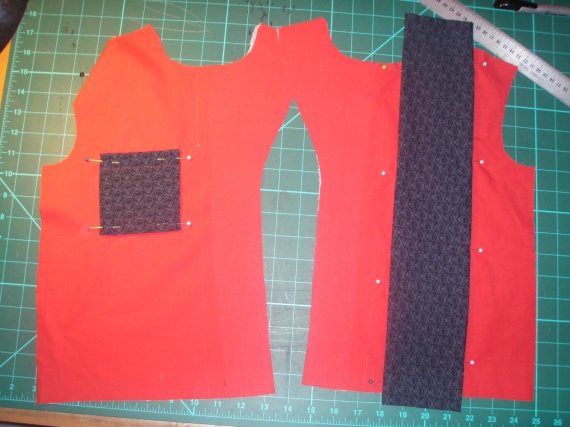
Pin everything in place and topstitch. I used a contrasting red thread but you can use a matching thread if you like.
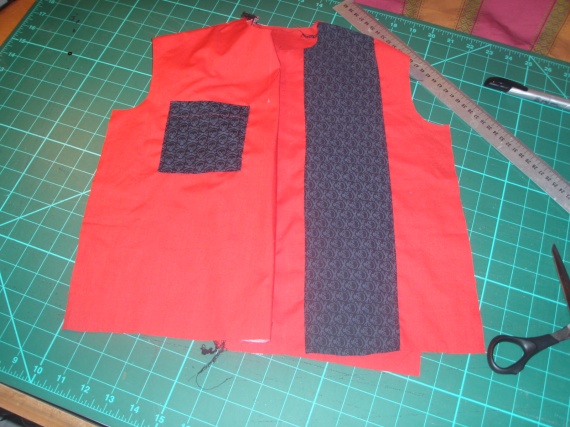
And there you go! Finish the shirt like the pattern instructs or however you might normally finish it if you are like me and don’t read the instructions. 🙂
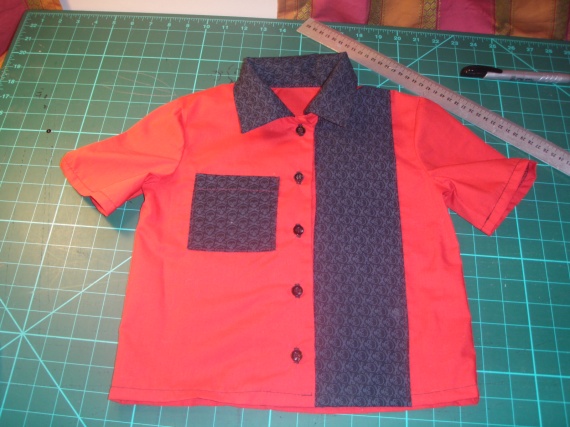
Now for the skinny jeans! Again, this could apply to kids or adult, boys or girls and you can adapt the info to re-construct a pair of jeans/pants you already own.
Things I used for this:
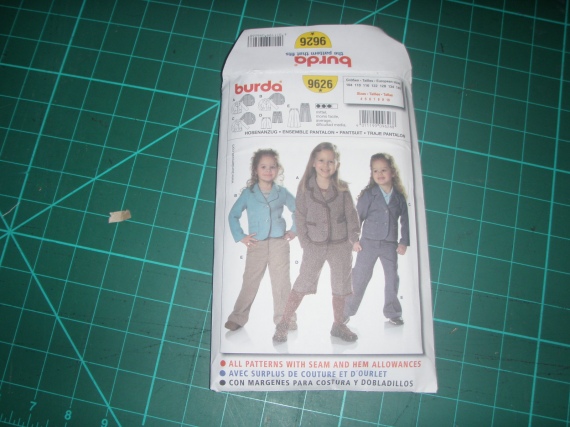
Pant pattern (I used Burda 9626 but any basic pant pattern can work)
Tracing paper
Old pair of jeans (you can use fabric yardage too, just consult the pattern for the amounts you will need)
knee, calf and ankle measurements
scissors
calculator (or lots of paper to write out your math equations. 😀 )
I chose the pattern size that closest fit my daughters hip measurement. I then measured her knee, calf and ankle and wrote those down so I wouldn’t forget. I traced out the pattern pieces I needed using waxed paper. Wax paper is cheap and perfect size for most patterns I need to trace but you can use any transparent paper you have around, I’ve used old patterns that I know I will never use again.
Next I prepped my jeans. I cut up the leg seams and crotch seam. I was careful to cut out the zipper so that I could re-use it. I also took off the back pockets to reuse. I planned to reuse the waistband as well but the button wasn’t in good condition so i used the waistband off of another old pair of jeans I had. I pressed each piece flat and then I prepped my pattern.
Here’s my math. To determine the width I wanted around the knee I added 2.5cm (1 inch) to the measurement I took. I then divided that number in half. I measured across the knee of the pant pattern front and subtracted the knee measurement I had just determined. I can’t remember my exact measurements but for example, if the knee measurement was 20 cm (8 inches) then I added 2.5cm (1 inch) to total 22.5cm (9inches) for the knee. Half of that would be 11.25cm (4.5 inches). If the front pant pattern knee measurement was 20cm (8 inches) then you would subtract 11.25cm (4.5inches) from 20cm (8 inches) to get the difference of the two knee measurements. Therefore I would need to remove 8.75cm ( 3.5 inches) from the knee. Divide that number in half to get the amount to take off equally on each side (4.5cm (1 3/4inches). Do the same for the calf and ankle measurement. Mark on the traced pattern the amounts you need to remove from the sides to get a close fit and redraw your side seams. Do this for the pant back as well.Make sure to re-add seam allowance. If the fit isn’t close enough when you are finished you can always take it in some more.
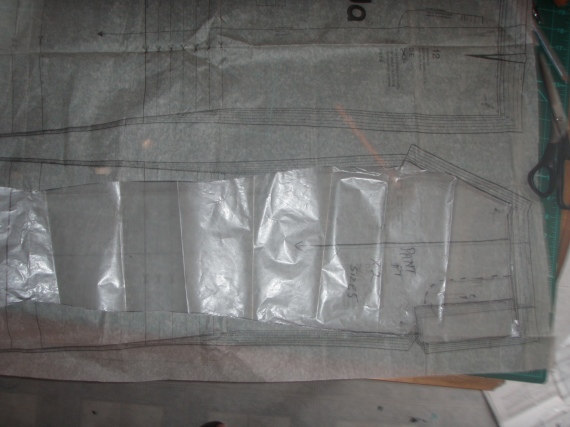
I forgot to take pictures of the rest but basically what I did was laid out my front pattern on my jeans front matching the finished hem with the actual hem on the jeans. I then did the same for the back. I re-cut the pockets to fit the new smaller jeans and re-used the original jeans zipper. I cut new belt loops and re-used the waistband from another pair of jeans. I cut it to the length of the waist of the jeans, keeping the original button and making a new button hole.
Here’s the finished pair (these are a size 5 for my daughter).
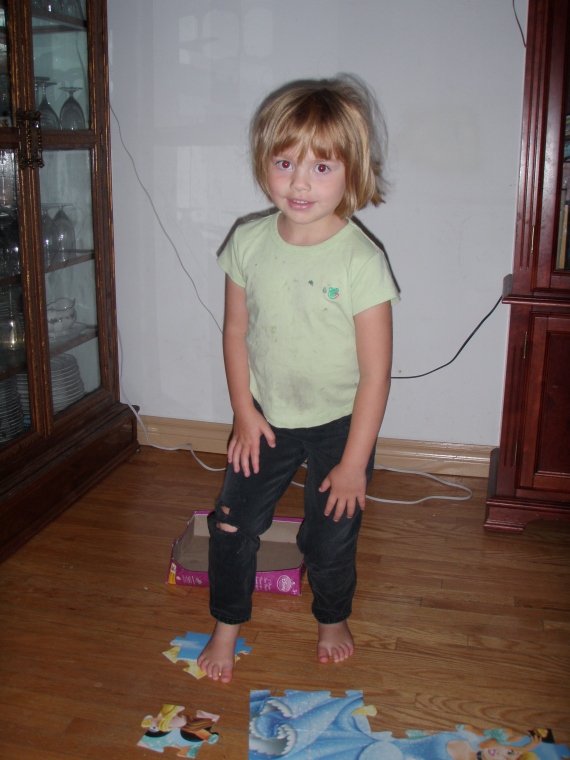
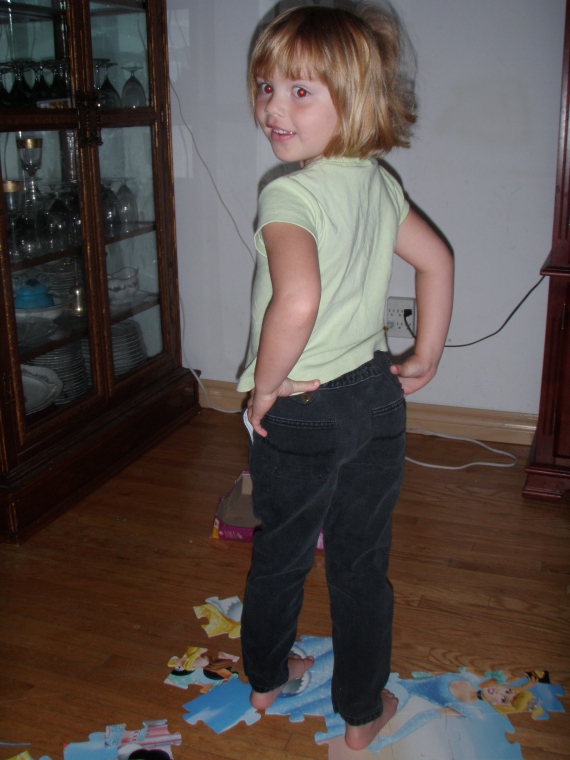
Some thoughts on the skinny jeans:
-you may want to measure around the ball of the foot to make sure that the foot will fit through the ankle opening.
-I decided to distress the jeans a bit so I made use of a cheese grater, sandpaper and my scissors to create holes and worn spots.
– if you are wanting to make regular jeans into skinny jeans you can use the same math as above but subtract the difference in measurement directly from the jeans. You can also put the jeans on inside out and pinch and pin out the excess.
-I had to add elastic to the back waist. You can do this by cutting slits in the inside waistband at the side-seams, making sure not to cut right through both layers of fabric. Insert a piece of elastic and secure with stitching at one side. Draw up the elastic to the whatever you need and secure the other side. tuck in the elastic ends and whipstitch the openings closed. See my post about cut offs for the little lady to see pictures of this.


