Absence

I apologise for the huge lack of posting lately.  There has been a shift in the household.  My husband got a job out-of-town that we are hoping will become permanent so we are in limbo now wondering if we should sell, if we should buy a house there, if, if, if…

I’m also very busy trying to get costumes finished for the Kitchener Waterloo Children’s Drama Workshop’s production of Aladdin Jr. and I hope to have some photos of the costumes to share with you.  It’s been a blast and I wish I could continue as the costume manager (they are doing peter pan in the spring!) but it’s not in the cards for me at the moment.  Thankfully they have a good stash of costumes so I created almost all the costumes by repurposing costumes they already had.  It’s been an interesting adventure in sewing. 🙂 If you are in the Kitchener area, they are presenting at the Registry theatre on Frederick street, you should get a ticket and see it! Call the number below, some of the dates are sold out already.

Performances

Feb 18, 19 7pm

Feb 20 2pm and 7 pm

Feb 21 2 pm

Tickets

Adult $15

Senior/Student (12+) $12

Under 12 $10

Eyego $5

Available at 519-954-5931 ext 2

or at the door if available (cash only)

So, in about a week, I will be temporarily moving so the family will be together as we navigate through this confusing time.  I hope to update here during that time as I would hate to lose my readers!  I do have some projects in the works and I will do my best to share them.

Please keep visiting, or be notified automatically by subscribing to my rss feed.

Happy weekend!!

//

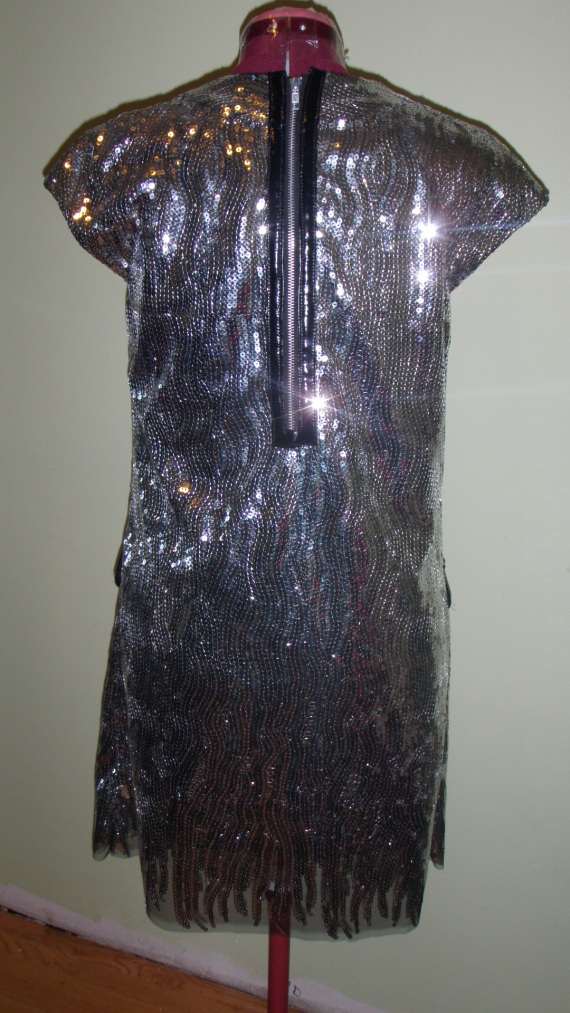
It’s like a wearable disco ball!

I may swear off of sequins for a while, this dress was almost the death of me.  There are still some little things that I’m not completely satisfied with but there really isn’t much I can do about it except to start over…like that’s gonna happen. 😀

So here it is for your viewing pleasure.  If you would like to see it up close and personal, feel free to drop by Fabricland at 1352 Weber Street N in Kitchener where it will be on display for the next few months.

Sparkle Dress update

I think this dress is gonna take a bit longer than anticipated.  I find the sequin removal a bit tedious but I know it will be worth the end results.  I will have to pick up some invisible thread so when the dress is together I can re-sew some of the sequins back onto the dress.

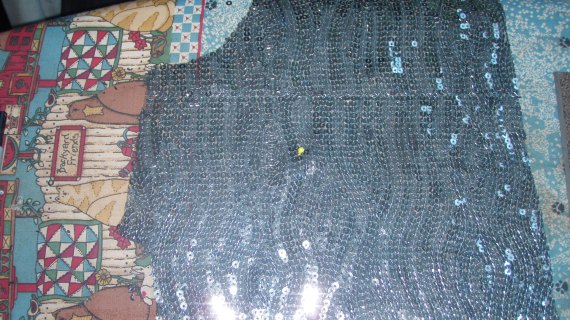
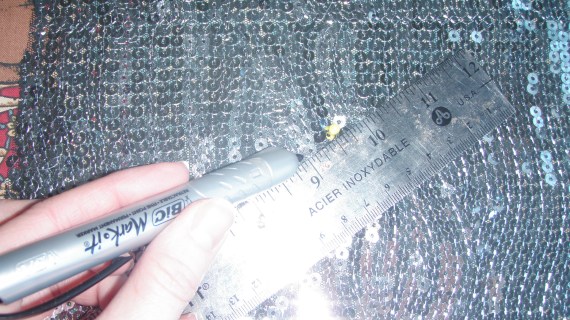
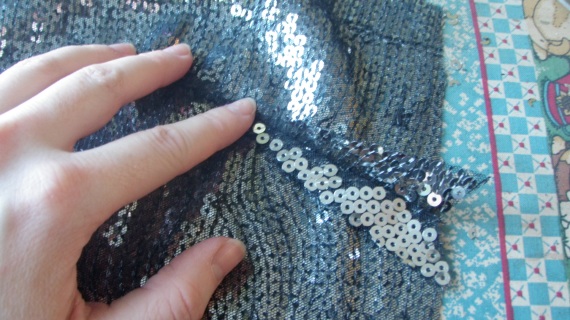
In order to do the dart I knew i had to take out the sequins first, especially at the point, so it would lay flat.  What I did the first time was to draw on the sewing line with a marker and then cut out the sequins from that line.  The yellow dot in the first picture is my pin marking the end of the dart.

PB110043


PB110044

Once the lines were on I simply snipped the sequins in half being careful not to cut the thread holding them to the fabric.  The sequins are attached with a chain stitch so I didn’t want to accidently cut the thread and have it unravel.

When I did the first dart I just removed the sequins along the stitching line.  I realized after sewing that I needed to remove almost all of the sequins, especially at the dart point, so that it would lay flat.  I also cut the dart open to remove any bulk.

PB110049

PB110055

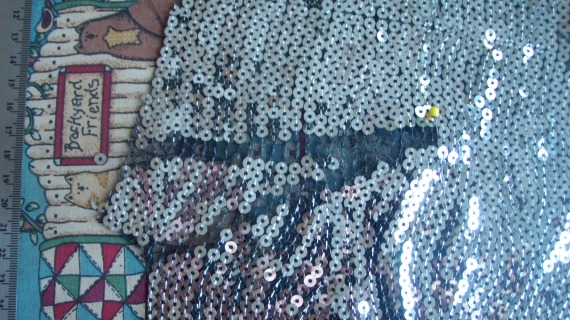
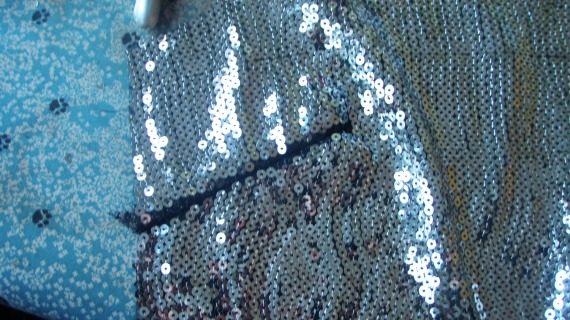
Once the dart was done, I moved on to working on the seams.  In hindsight I should have cut the front as one piece, despite the fact that the pattern has it in two pieces.  The pattern shows this center front seamline as a decorative seam with topstitching on either side but due to the fabric I’m using, it wouldn’t show so I’m not doing any topstitching.  One thing I did want to show is what the dart looks like, and this will be how my seams will appear as well.  Because I had to remove sequins, there is a line around the seam where the backing fabric shows through.  To remedy this I’ll need to sew sequins back on to the dress to cover up these spaces.

PB110056

If the sequins were in a straighter pattern this may not have been as much of an issue but the wavy pattern makes it near impossible to avoid having the backing fabric show through.

I’ll be updating again soon, hopefully with photos of the finished dress.

All that glitters…a quick tute to extend the life of a pair of kids pants.

K, so I’m not done the sparkle dress yet, it is cut out and waiting for me to do.  In the meantime I made up a couple of pillows using another sequin fabric we had at work.  I had a bit left over so I decided that it would be great for fixing a pair of my daughters pants.

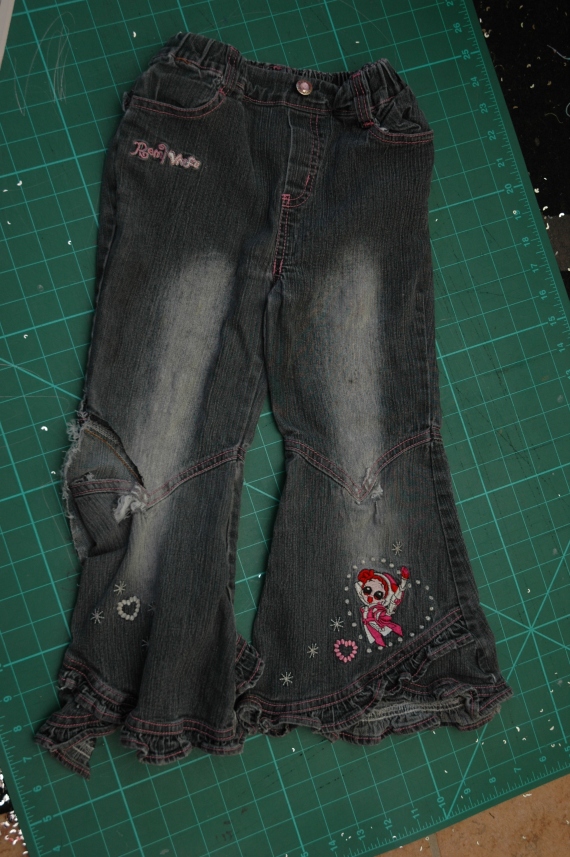
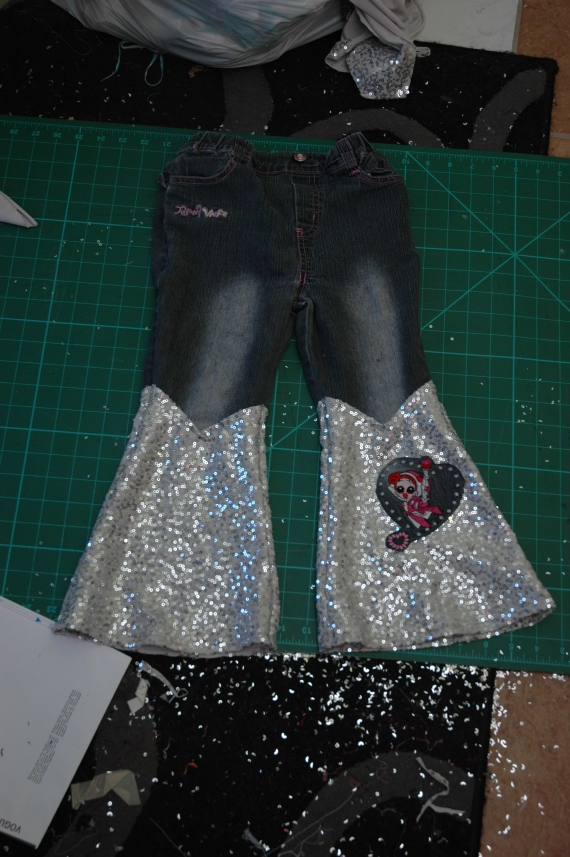
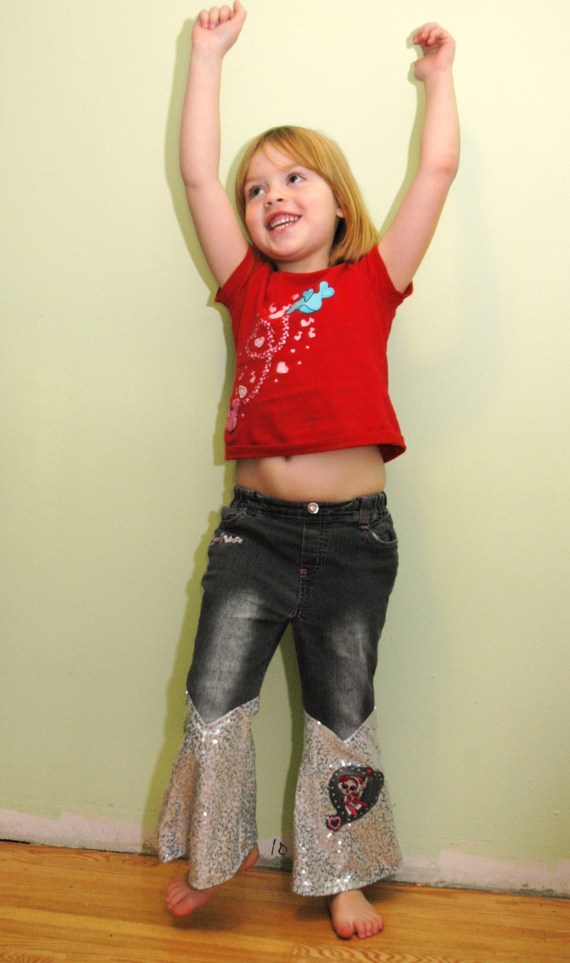
She got a pair of jeans from the Salvation army a few months back during one of their dollar sales.  She loved them, wore them all the time and then the inevitable happened.  She got holes in the knees.  The pants were starting to get a bit short anyhow but they still fit in the waist.  Fixing them wouldn’t be a problem since the style already had a seam right around the knee area so all I had to do was cut of the legs at the seams, use the cut off bottom portions as pattern pieces and add new fancy bottoms to her pants!

Here’s what I did, you can adapt this to any pair of pants and the fabric you choose can be gender appropriate of course.

Materials:
Old jeans
Scissors
fabric for new pant legs
iron

I split the pants up the side seam and trimmed the leg off at the seam that was at the knee.   If your pants don’t have this particular seam (and they probably don’t since this is purely for design) just cut off the pant leg slightly above the knee (or just below would work too) so the seam doesn’t run directly across the knee.  Nothing is more uncomfortable than a line of bulky fabric right across the kneecap.

DSC_1124

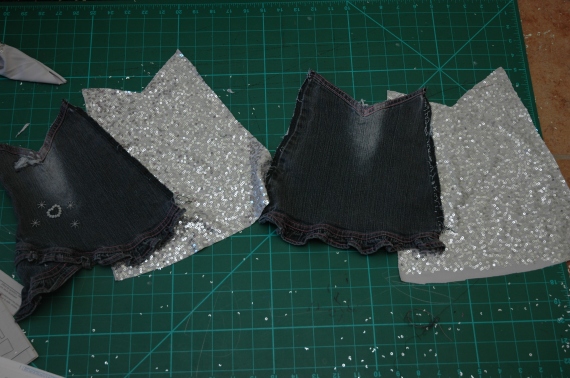
I was instructed to keep the little embroidered girl on the right leg so I cut it out to put it back on the new leg as an applique.  Next I ironed the jean pant leg so the seams were out flat.  Then used it as a pattern piece to cut out the new legs.  I added some length to the new ones while I was at it so she could get some more time out of the pants.

DSC_1127

Then I just sewed the new pant legs on, sewed up the side seams and hemmed them.

DSC_1128DSC_1166

Some thoughts on this project:

The type of fabric you use will determine the final look of the pant.  Choosing a more casual fabric would have given the pants a more casual look.  Choose your fabric based on your child’s favourite colours, prints etc and try to choose something that is similar to the pants fabric.  The fabric I used was a thicker knit but the jeans had a lot of stretch to them so the two fabrics actually worked out well together.

This works for boys pants too, just choose fabrics more suited to your little man.

This is a great way to reinforce knees too.  create a double layer of fabric across the knee and a single layer of fabric for the lower portion of the leg.

Use your imagination, straight legged pants can become flared leg pants and vice versa.  Just add a strip of fabric an inch or so above the hem if all you need is to add some length and the pant leg is in good shape.

Sparkle Sparkle!!

I love things that sparkle, with the exception of certain vampires but that is a whole other story.

One of my fav things about my job is that we have an opportunity to make displays to show off the fabrics in the store.  It’s been proven time and time again that these displays help sell the fabrics because it allows our customers to visualize what it will look like when made up.  It also allows us, the employee’s, to understand how the fabric is when making something out of it.  Sometimes we get so excited about a fabric only to find out it is incredibly difficult to work with, or doesn’t wash well or something like that.

For me, it allows me to make fun stuff that I normally wouldn’t bother with because of the expense.  I also like that it gives me an opportunity to use fabrics that are challenging, such as my next display.

We got in several bolts of sequined fabric.  Not the kind that is just sprinkled with a few sequins, but the kind that is completely covered with no fabric backing showing.  I’m naturally attracted to shiny things so I’ve been coveting this a bit since it showed up in the back room. 

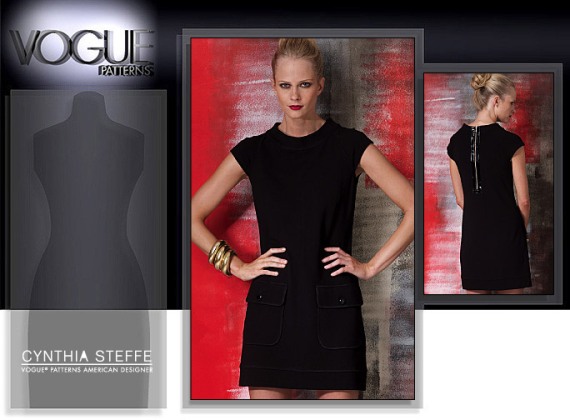
Earlier, before the shiny fabrics arrived, I had asked to do this Vogue dress out our our Ponti De Roma knit.
V1150

It’s a fantastic dress and I spent more time than I should have trying to avoid black but ultimately I ended up with black because it was all I could find a contrast fabric for.  So I submitted my idea but I got it back with the note that the fabric has already been used and to try something else.  I let it sit for about a week before it hit me.  I could use the sparkly sequin fabric!  I thought about it for a few more days, partially because it’s a difficult fabric to work with and partially because I was unsure about the pockets on the dress and how that would look in the sequins.

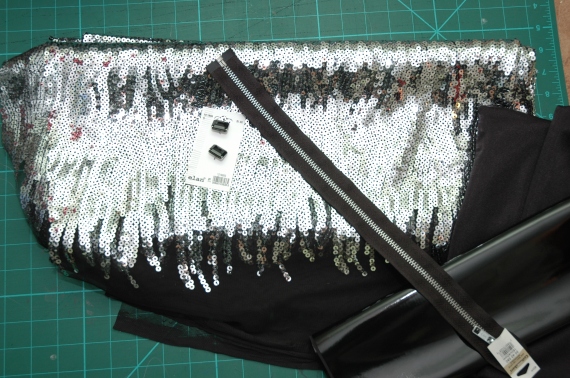
What I settled on was to do the silver sequin fabric with black pvc contrast around the zipper.  I also decided to add the black pvc around the pockets to add a little contrast and to make them stand out a bit. 

So here’s my fabric!

DSC_1114

The sequin fabric as this cool flame-like design at the borders so I plan to use that at the hem of my dress.  I will be lining the whole thing with black knit lining fabric.  I plan to line the inside of the collar with the lining fabric as well so it won’t be scratchy on my neck.

I am going to try stitching through the sequins first.  Failing that, I’ll have to remove the sequins from the seam allowances first.  I’ll be using a heavier ball point needle on my machine since it’s a knit mesh backing.

The pieces are almost all cut out so I’ll be updating the progress of the dress shortly!

And the Winner is…

thislittlebirdcreations!   I thank everyone who participated in my survey, your answers are vey helpful to me!

I will be contacting thislittlebirdcreations very soon to get started on their bowling shirt!


Survey Closed

Thanks to  everyone who did the survey.  I’ll be posting the winner later today!


Take a Survey, get entered to win a custom kids bowling shirt!

In case you missed my previous post about this, I’m gathering some information so I can better understand what people may be looking for when they go shopping for clothing for their kids.

I’ve created a very short survey and would appreciate your input!

Click Here to do the Survey!

I’ll be keeping it open until midnight, October 31.  On November 1st I’ll draw a name from those that completed the survey (so be sure to enter your email address at the end!) and that person will receive a custom kids bowling shirt for their favourite little Punk’n.

In the meantime, if you are in the Kitchener/Waterloo area, be sure to head down to Rare Funk at 8 Duke Street (corner of Duke and Queen in downtown Kitchener).  Most of my Punkn’s stuff is 50% off until Christmas, or until it’s gone.  This is a great time to pick up something unique for Christmas presents, and they have lots of other stuff too so if you aren’t in the market for baby clothes, I’m sure you can find something to suit your fancy! 😀

For the Love of Buttons!

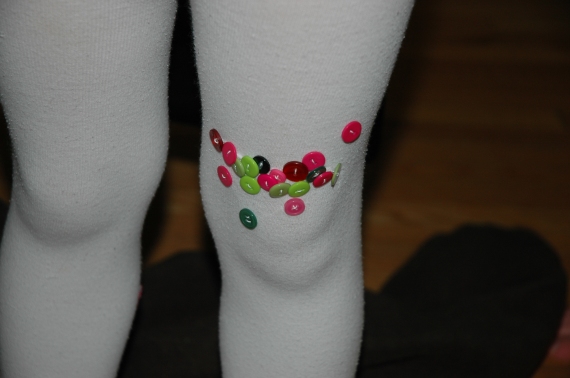
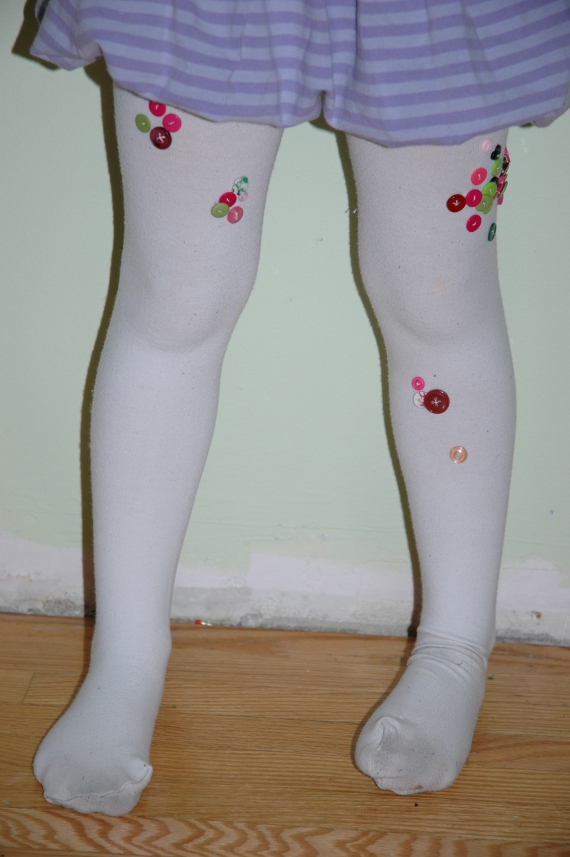
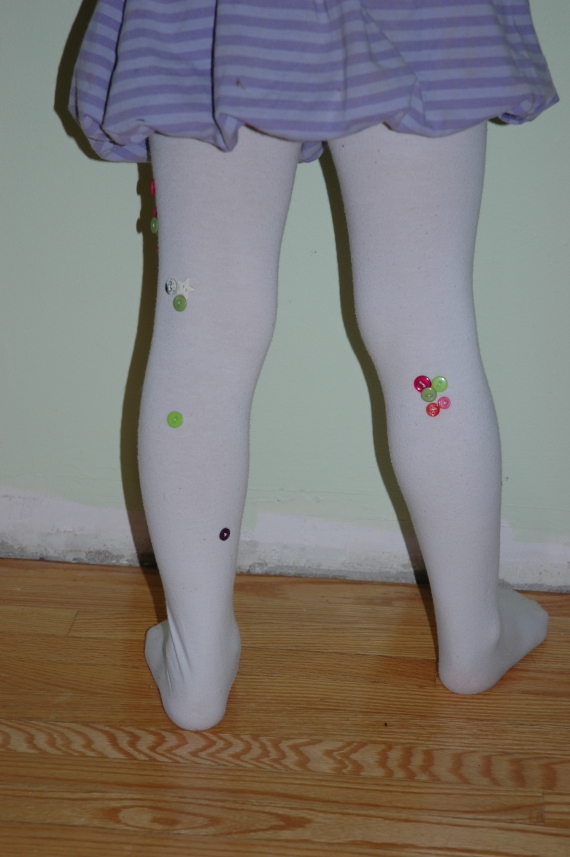
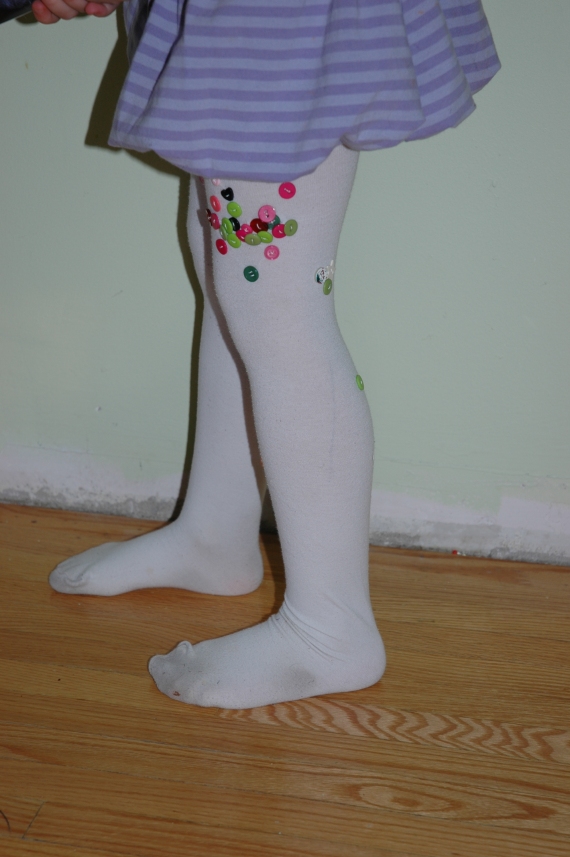
I love buttons.  I get excited seeing a jar of random buttons, all the colours and shapes.  I wonder what the buttons were on before they landed in my possesion.  I wonder how old they are, what their purpose was etc.  It’s a strange obessesion really and this morning I found a reason to get my buttons out to use them. 🙂

I had received a bunch of clothes from a friend, for my daughter.  one of the items in the bag was a pair of plain white tights.  My daughter wore them the very next day and promptly put a hole in them.

I let her wear them for a while like that and then decided today, as I was doing some mending, that perhaps I should attempt to fix them.  Embellished tights are really popular on the runways right now, though I have yet to really see them on anyone in the normal world.  I felt this would be the perfect thing to fix the hole in the tights and to use my buttons.  I googled embellished tights first to get some inspiration.  Cocorosa’s tutorial had caught my eye a few months back and it was one of the top hits when I did my google search.  Park and Cube has a cute one too.

Anyhow, I gathered my materials:

Parker’s tights with the hole in them
thread and needle
buttons
plastic water bottle
scissors

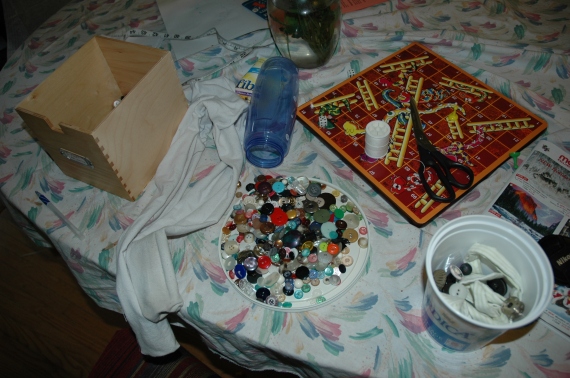
DSC_1051

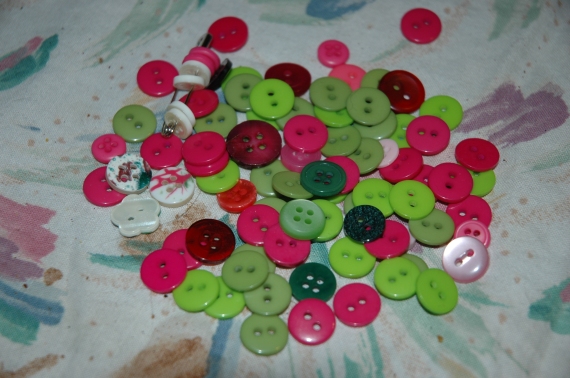
I started by sorting out the buttons I wanted to use.  I have a thing for green and pink right now and I had lots of those button colours so I sorted them out and put the rest away for another day.

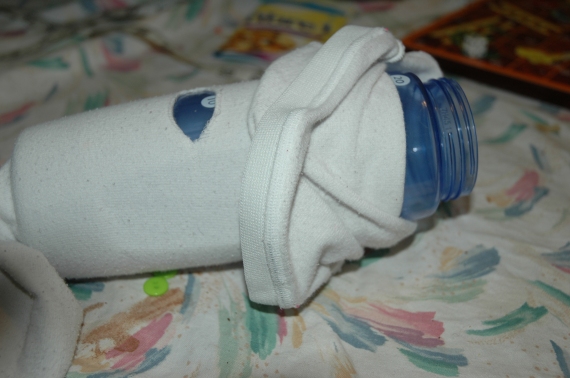
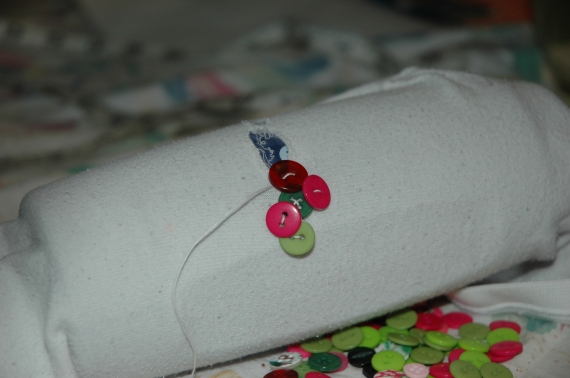
In order to start mending the hole I needed something hard to put in the leg of the tights so that it would stretch it out a bit as well as keep me from stitching through both layers of the leg.  This is where the water bottle came in.  I put it in the leg of the tights where I wanted to put the buttons.  Then I threaded my needle, made a knot and started stitching on buttons.

DSC_1062DSC_1065DSC_1066

Once I finished mending the hole and had more buttons on the leg I decided to have my daughter try them on so I could see how it was looking.  I then marked some more spots to put buttons.

DSC_1067

And voila! Tights are as good as new and they look pretty cool too!

DSC_1068DSC_1069

DSC_1070

Now that it’s fall, I need swimsuits…

Of course, it’s logical right? It figures, as soon as the temperature drops and the leaves are on the ground I find myself in need of swimsuits for the kids not to mention, I had cleaned out their summer stuff a few weeks ago.  I put away what may fit next year, sorted out what can go to goodwill and what can go to consignment and lastly threw out what wasn’t going to fit and was not in any shape to pass on.  Their swimsuits were in that last category and I thought, oh well, it’s not like they will be going swimming anytime soon.  yeah. right.

My in-laws have generously paid for swim lessons for the kids.  We registered them at the beginning of the week.  Their first lesson is on Saturday, it’s now Thursday and I realized they have no swim suits.  So I set about making them some.

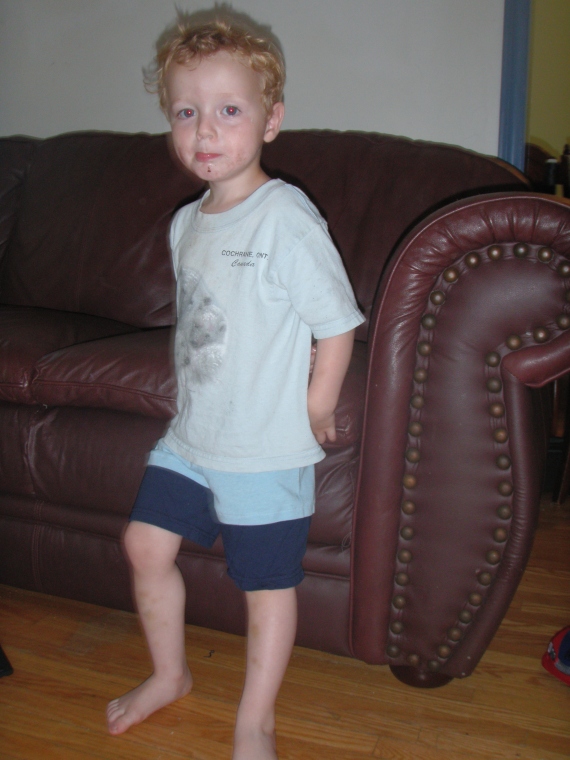
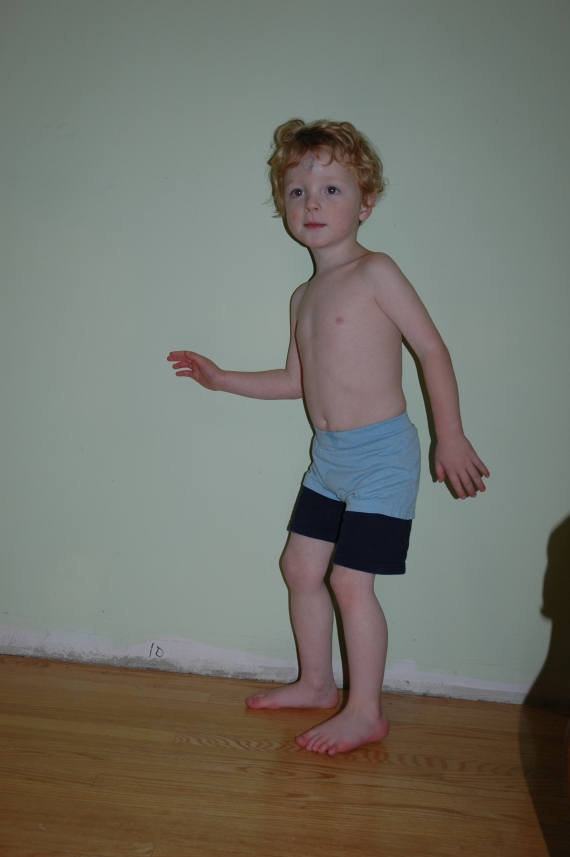
Patrick’s suit was easy.  Remember these shorts? If you missed the post, click the photo.
P6240038

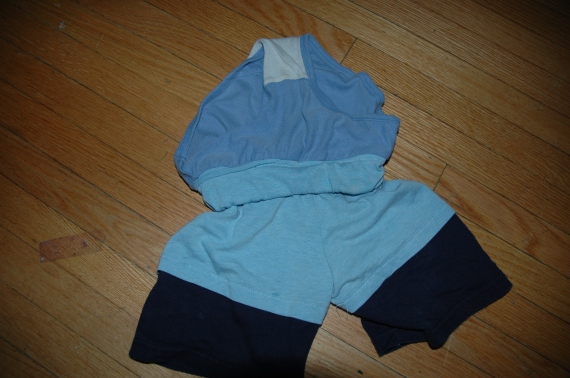
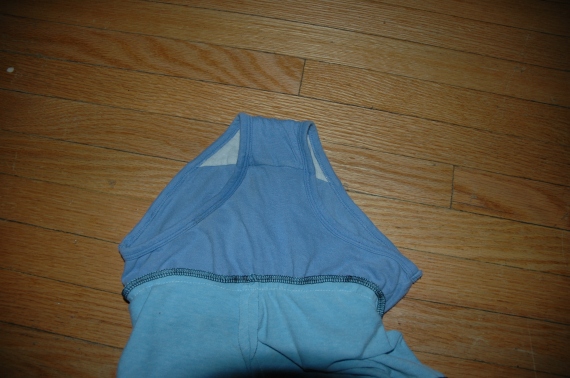
I took a pair of Parker’s underpants and removed the elastic.  Then I stitched them to the waistband of the shorts on the inside.  There. done. swim shorts. lol!

DSC_1030DSC_1047DSC_1050

For Parker’s suit I used a kwiksew pattern for a dance leotard.  It’s discontinued but if you are interested in looking it up it’s Kwiksew 2263.  I left the sleeves off and I still have to put some elastic in it but it seems to fit her well and should serve it’s purpose.  I used some black poly lycra knit for the top portion and this ruffled lycra that a friend gave me a small piece of.  I lined the bottom with the same fabric the top was made out of.  I think both suits took about 1 hr to put together (that’s figuring in time to put the elastic in).

DSC_1023DSC_1016

And there it is.  The kids are ready for swim lessons!